
Essential Parts for Restoring a Kenworth W900A

When restoring a classic Kenworth W900A from the 1960s or 1970s, the ultimate goal is honoring that legendary vintage aesthetic while ditching tired, road-worn, decades-old mechanical components.
Semi-truck restorations can take years to complete—especially if you are balancing the project as a full-time owner-operator.
To maximize your time and budget, a build must be tackled systematically. Sourcing the right W900A restoration parts requires sorting aftermarket upgrades into four foundational pillars:
- Powertrain & Airflow
- Steering & Suspension
- Cab Hardware
- Exterior Chrome & Lighting
Critical Prerequisite: The W900A vs. W900B Fitment Pitfall
Before buying a single accessory, understand that the W900A and the later W900B are completely different animals past the firewall.
Although much of the engine setup and chassis footprint look identical, the W900A utilizes a significantly narrower cab and a distinct firewall configuration.
Because of this tighter envelope, body panels, glass, and interior structures are not interchangeable.
Always verify A-model specific fitment to avoid buying expensive components you cannot use.
W900A Restoration Component Overview
| Component System | 1960s Factory Standard | Modern Restoration Upgrade |
|---|---|---|
| Cab & Marker Lights | Dim, amber incandescent bulbs | High-output LEDs with vintage watermelon or beehive lenses |
| Front Visor | Standard factory steel or aluminum | Custom stainless steel slammed or Bowtie drop visor |
| Exhaust & Turbo | Restrictive cast iron and slow-spooling turbos | High-flow 3-piece ceramic manifold, S400 modern turbo, and 5" downpipe |
| Cab Suspension & Seats | Rigid cab mount with spring-loaded or static seats | Air-ride cab conversion with modern low-profile custom air seats |
| Steering System | High-effort manual steering or leaking assist rams | Integrated power steering box retrofit, such as a TRW TAS65 series setup |
| Windshield Wipers | Fluctuating, freezing Sprague pneumatic air motors | 12V DC electric rotary wiper motor conversion with multi-speed switch |
Powertrain & Airflow Modifications
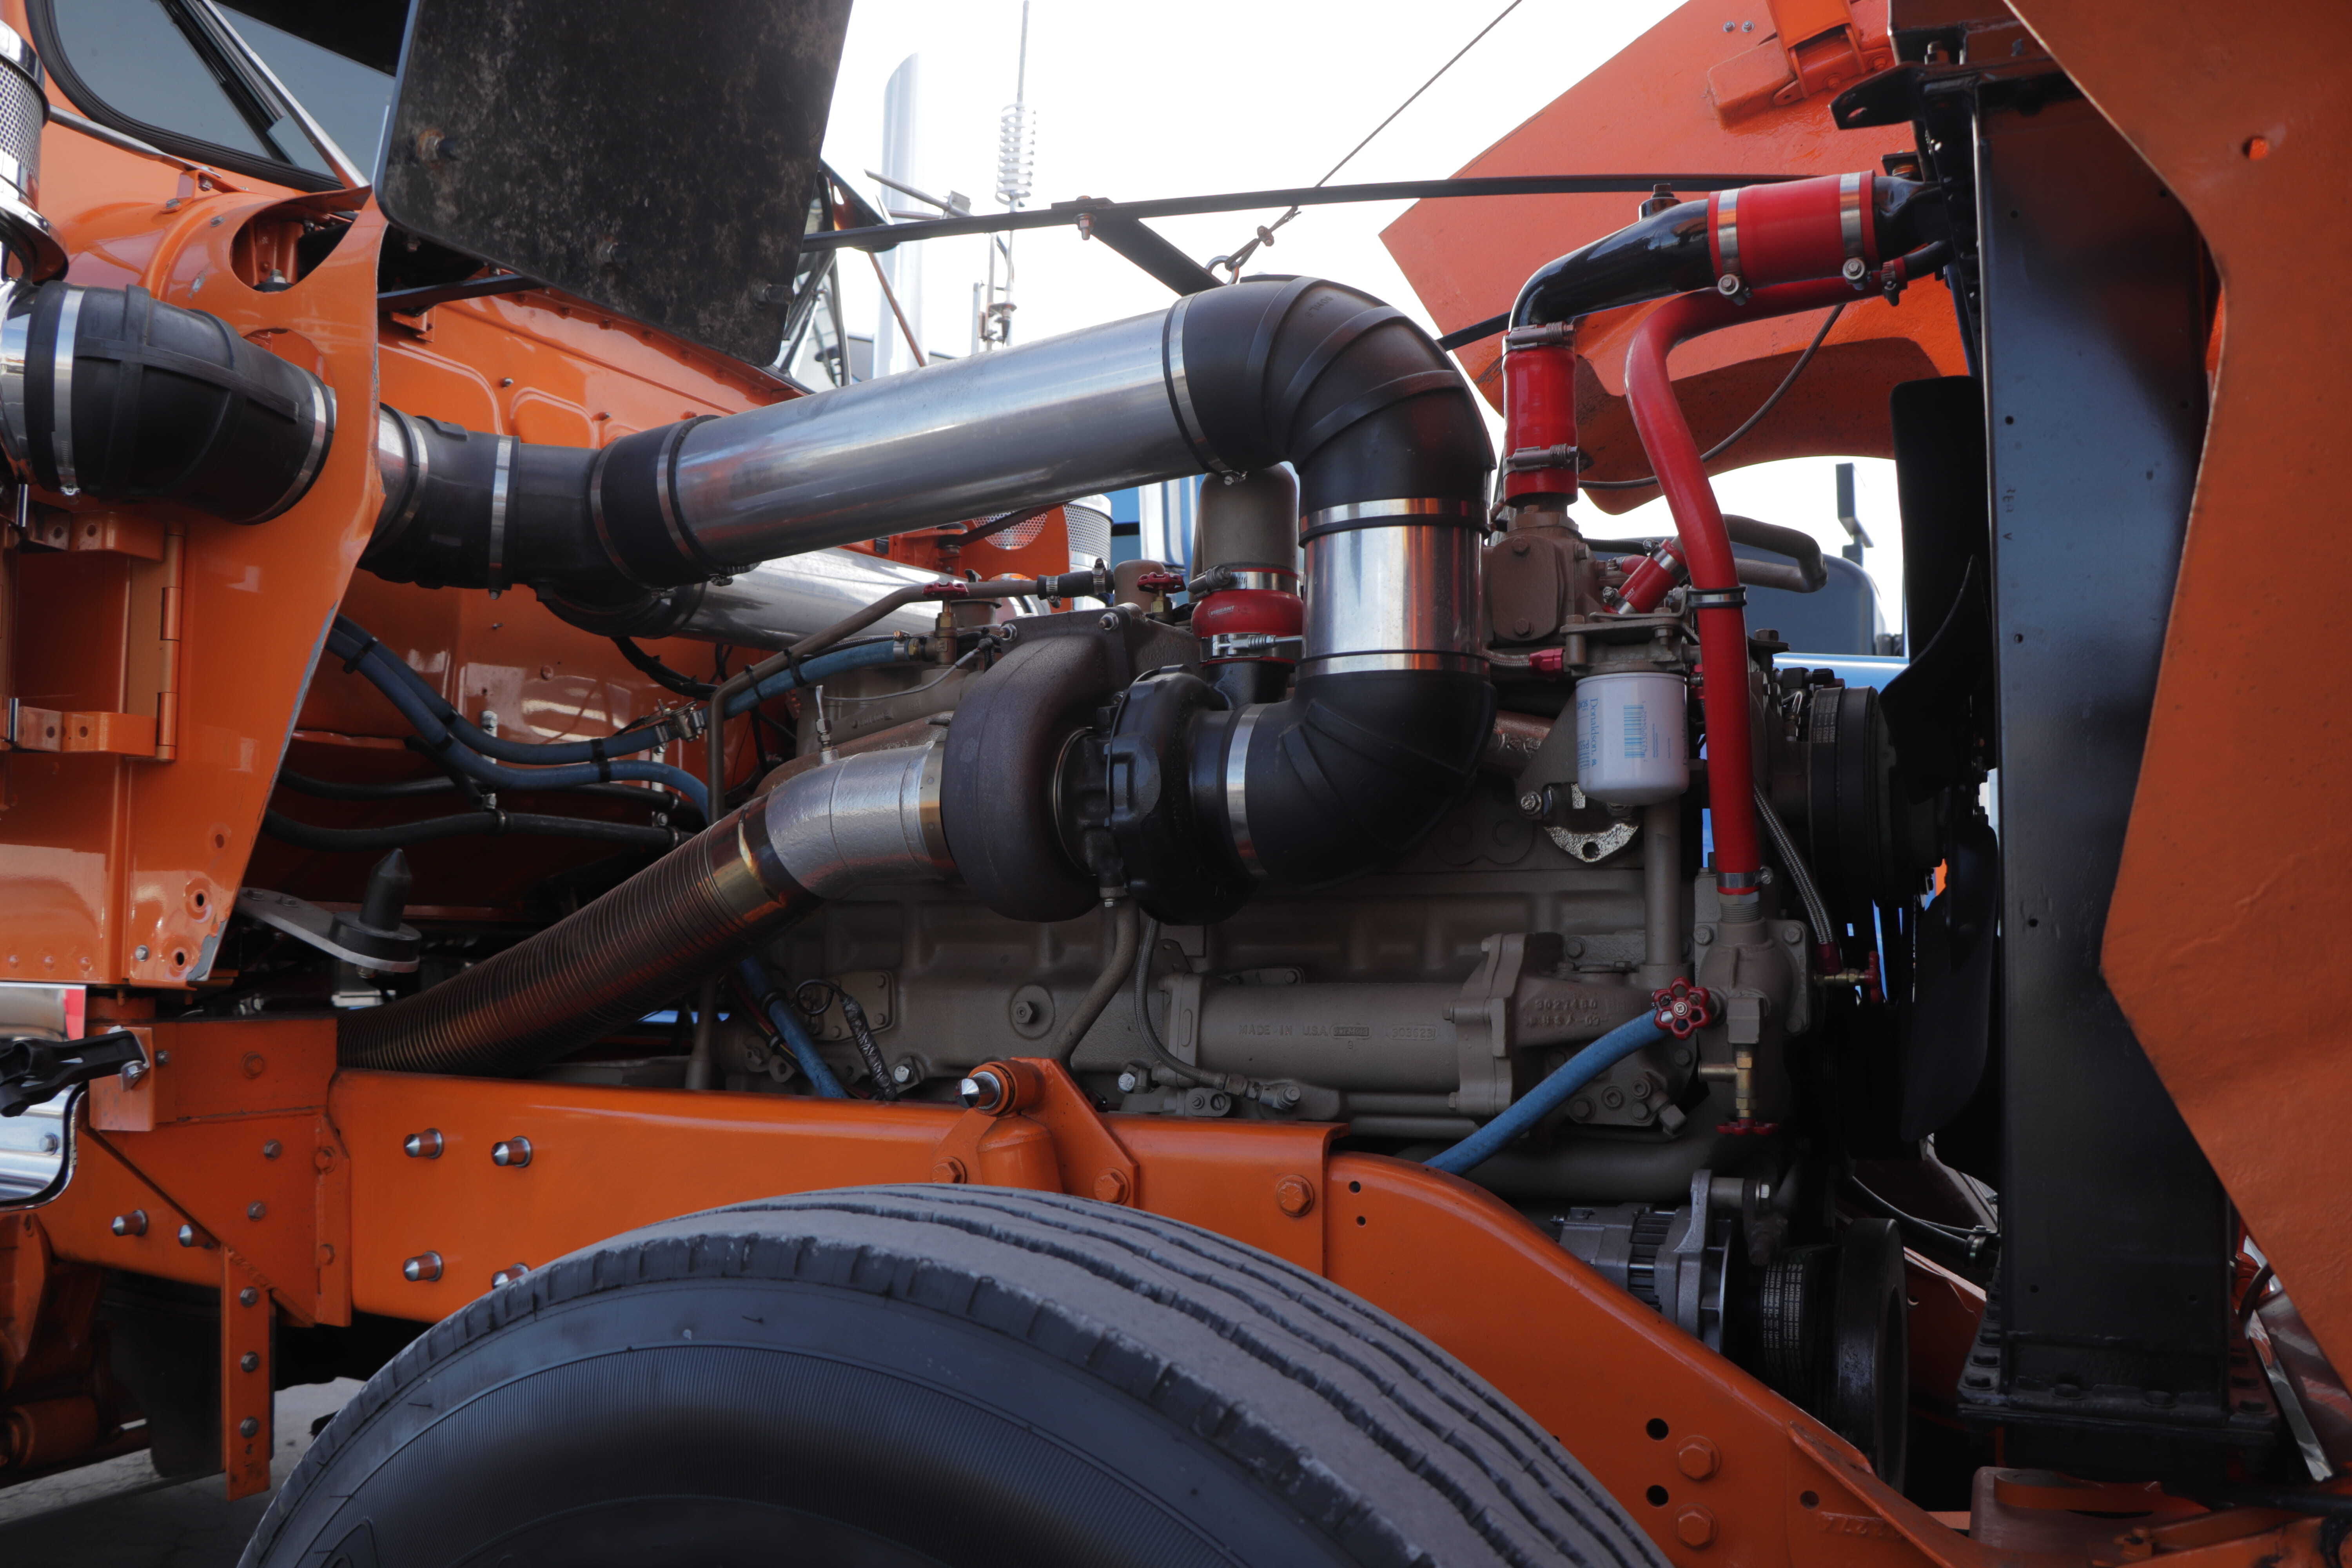
While some restoration purists maintain original two-stroke Detroit Diesels or early Cummins engines, many choose to upgrade the mechanical footprint to make the rig reliable, efficient, and roadworthy by modern standards.
Engine Rebuild Basics
If keeping the original block, prioritize complete In-Frame or Out-of-Frame rebuild kits (pistons, rings, liners, main/rod bearings), heavy-duty air intake filters, high-pressure fuel lines, and fresh gaskets (head, oil pan, and rear main seals).
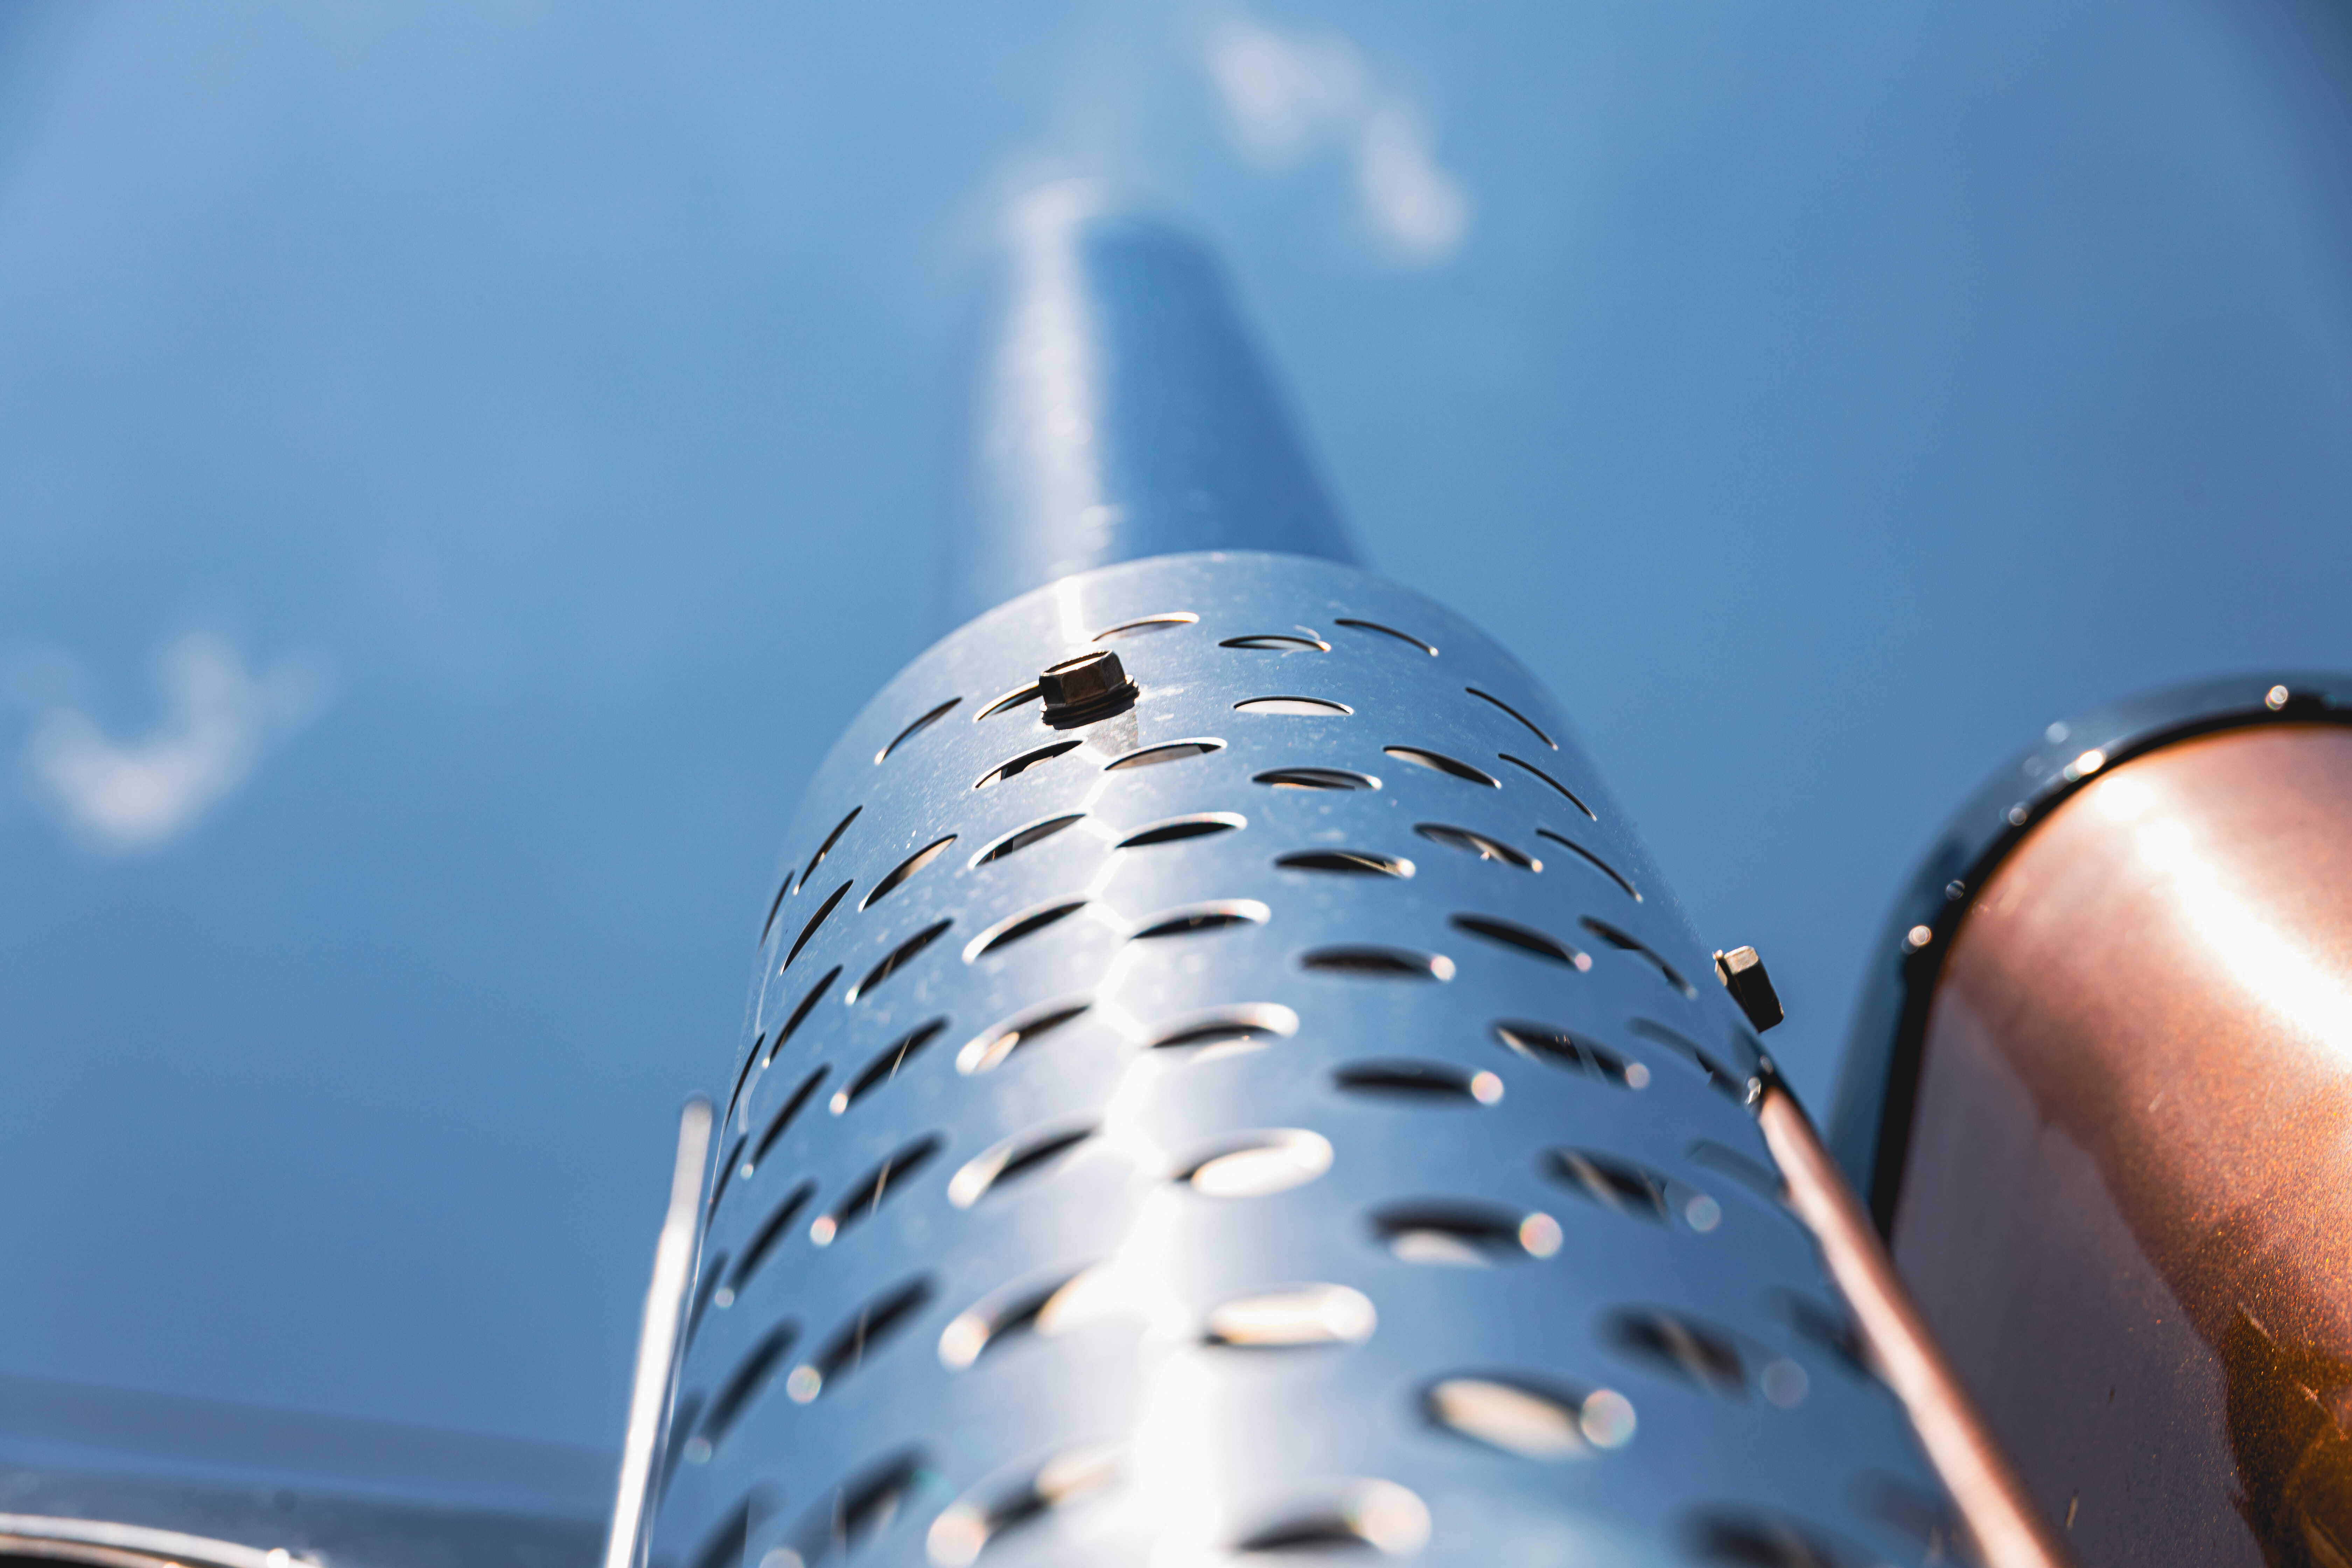
3-Piece Performance Exhaust Manifold
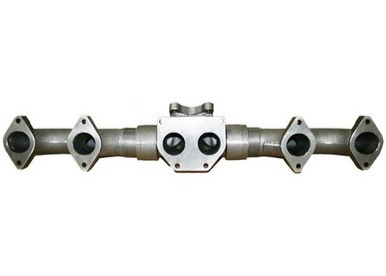
Factory cast-iron manifolds are highly restrictive, single-piece designs. Over decades of heat cycles, they warp and leak at the head.
- Upgrading to a high-silicone ductile iron 3-piece manifold utilizes built-in slip joints.
This allows the metal sections to expand and contract independently without cracking. Hand-ported interiors eliminate air turbulence, while outer ceramic coatings trap heat energy inside the exhaust stream.
A Modern Turbocharger Upgrade
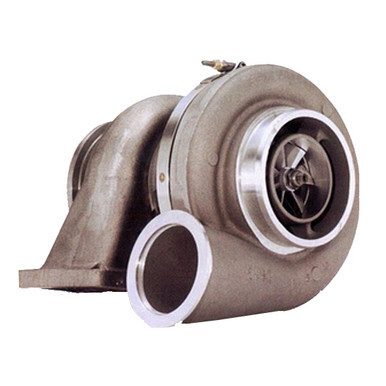
Bolt on a high-efficiency modern turbocharger (such as a BorgWarner S400 series or an upgraded Stage 1 wastegated turbo) onto the new manifold flange.
We stock plenty of options, whether your older W900A model had a Caterpillar, Cummins, or Detroit Deisel engine under the hood.
Because the ceramic-coated manifold traps heat and maintains high-velocity exhaust gases, it spins the modern, lighter turbo wheel significantly faster, wiping out throttle lag and slashing Exhaust Gas Temperatures (EGTs) by up to 100°F under a heavy pull.
5-Inch Downpipe
Modern high-flow turbos have much larger exhaust housings than legacy factory units.
Complete the upgrade by fabricating a custom, oversized 5-inch downpipe straight from the new turbo outlet out to your vertical chrome stacks.
The Modern Transmission Swap
Legacy "twin-stick" transmissions require immense skill to shift and severely limit top-end speed.
Swapping to a modern Eaton Fuller 13- or 18-speed manual provides smoother shifting, tighter gear splits, and a proper overdrive for highway cruising.
The Mechanical-to-Electronic Engine Swap
If pulling out a mechanical engine (like an early Cummins 400 Big Cam) to drop in a computer-controlled powerhouse (such as a Detroit Series 60 or Cummins ISX), your dashboard instrumentation must evolve:
Electric Tachometer & Speedometer
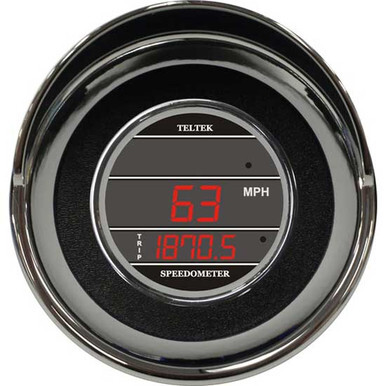
Switch to an electric tachometer driven by an alternator tap or flywheel sensor, and an electric speedometer matched to a Vehicle Speed Sensor (VSS) in the newer transmission.
Two-Sensor Strategy
Screw a separate, standalone electronic sending unit (ESU) into an empty port on the engine block and run a single wire from that sensor straight to the new electric gauge in your dash.
J1939 Converter Box Alternative
Install a digital-to-analog module behind the dash.
Connect it directly to the J1939 digital data network wires; the box decodes the digital engine stream into separate analog wire outputs that seamlessly feed your electric gauges.
Steering & Suspension Retrofits

Original 1960s leaf-spring front ends, manual steering boxes, and torsion bar rear suspensions struggle at modern highway speeds.
Upgrading these wear items is paramount for survival on modern roads.
Sourcing Warning
It's incredibly difficult to source parts for the original torsion bar rear suspension. Because active W900A restorers are a small pool of consumers, a lot of aftermarket parts shops don't sell them readily.
If the torsion bar splines get stripped or weather-worn, they can't be repaired. Most owners just scrap them and opt for a model rear clip cutoff like the AG100 or AG400 setup.
The Power Steering Gearbox Retrofit
Original W900As relied on grueling manual steering or problematic external hydraulic assist cylinders that leaked constantly and left a massive "dead spot" in the center of the wheel.
Retofitting an integrated power steering box changes everything.
#1. Prepare the Frame
Strip away the original steering gearbox, external assist ram, drag link, and old pitman arm. Clean the driver-side frame rail down to bare metal and inspect for hairline cracks around the original bolt holes.
#2. Mounting the Integrated Box
Modern integrated boxes (housing the hydraulic piston and directional valving entirely inside the box) do not share the vintage manual bolt pattern.
Fabricate a heavy-duty steel adapter plate or drill new holes and reinforce the rail using a steel sister-plate secured with Grade 8 fasteners.
The TRW TAS65 series (such as the TAS65090) is the gold standard for this swap, rated beautifully for 12,000 to 14,000 lb front axles.
Mount it carefully; if the box sits too high or low compared to the original setup, it will induce violent "bump steer" when hitting potholes.
#3. Adapting the Steering Shaft
The input shaft on a TRW TAS65 box sits in a different location and uses a different spline count than the original manual box.
You must install a custom intermediate shaft featuring a slip-spline to allow for cab flex.
Ensure the Spicer U-joints on this new shaft are properly "phased" (aligned perfectly with one another) to prevent the steering wheel from binding.
#4. Setting Up the Hydraulic Loop
Install a gear-driven power steering pump onto the engine's accessory drive, matching the GPM and PSI requirements of the TRW box.
Mount a fluid reservoir on the firewall or fender, ensuring the bottom of the reservoir sits physically higher than the pump to maintain a gravity feed.
Finally, plumb a finned heat exchanger fluid cooler into the low-pressure return line to combat the immense heat generated by modern integrated boxes.
#5. Adjusting Linkage Geometry
Use a pitman arm specifically splined for your TRW box, "clocked" precisely so the steering box is dead-center when the front wheels are pointing straight ahead.
Use a custom-length drag link to bridge the gap to the driver-side steering knuckle.
Cab Air Ride Installation Guide
Factory A-models rigidly bolted the back of the cab directly to the frame rails using solid rubber mount pucks.
This causes a punishingly stiff ride and puts severe structural stress on vintage cab welds and aluminum rivets.
Phase 1: Clearances & Isolation
Verify that lifting the rear cab will not crush your exhaust piping or smash the cab sheet metal into the sleeper box.
Loosen the front pivot bolts slightly so they can act as a binding-free hinge. Ensure your steering shaft, clutch linkage, throttle cables, and wiring harnesses have enough slack to accommodate a cab sitting 2 to 3 inches higher.
Securely support the rear cab with hydraulic jacks and wooden cribbing, then completely grind or unbolt the old rigid brackets from the frame.
Phase 2: Suspension Architecture
Mount heavy-duty aftermarket cab-suspension brackets (such as a W900A-specific Link Cabmate® system) directly to the frame crossmember behind the cab, ensuring they are perfectly square.
Position a pair of low-frequency airbags and tuned shock absorbers between the new frame mounts and the rear cab floor. Install a lateral control rod (Panhard bar) horizontally across the back of the setup.
Because airbags offer zero side-to-side support, this rod is mandatory to prevent the cab from swaying wildly during cornering.
Phase 3: Pneumatic Plumbing
Tap into the truck's secondary accessory air tank. Never route air directly to the cab bags; install a pressure protection valve first.
This ensures that if an airbag violently blows out, it will not drain your main air tanks and lock up your spring brakes on the highway.
Run the protected line to a mechanical height control leveling valve connected to the frame via a linkage rod, automatically adjusting ride height whether you are driving solo or carrying a passenger.
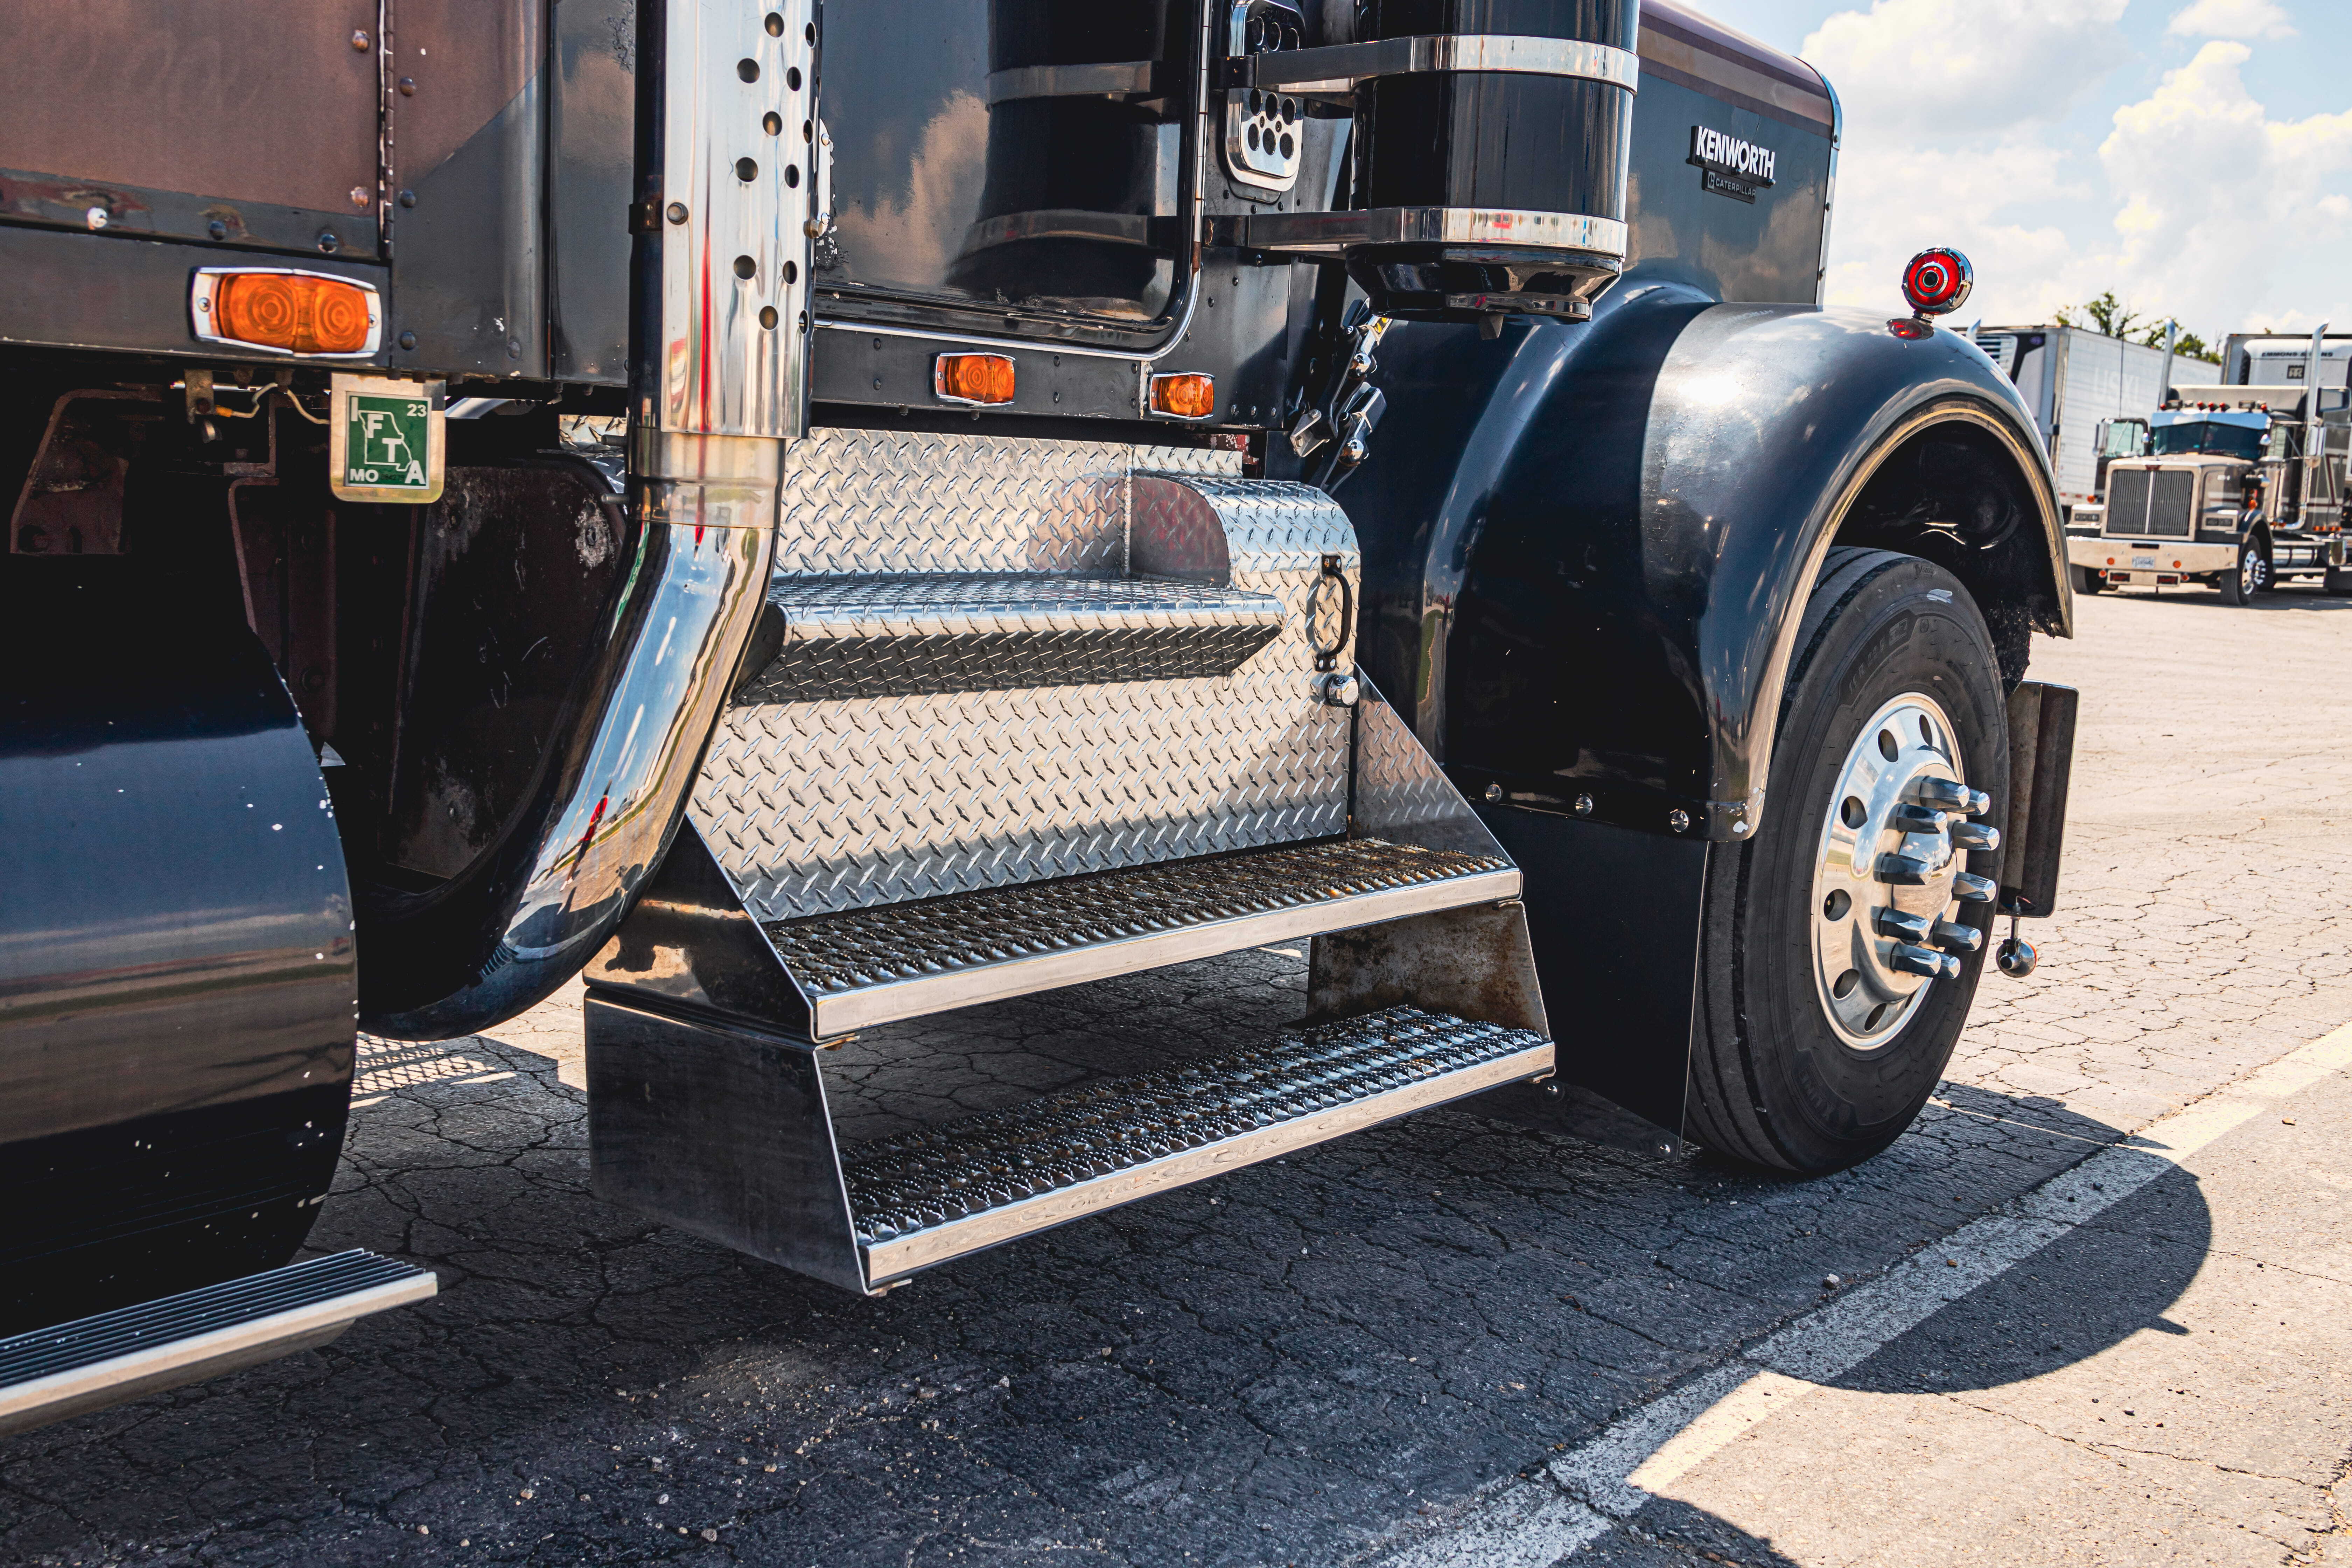
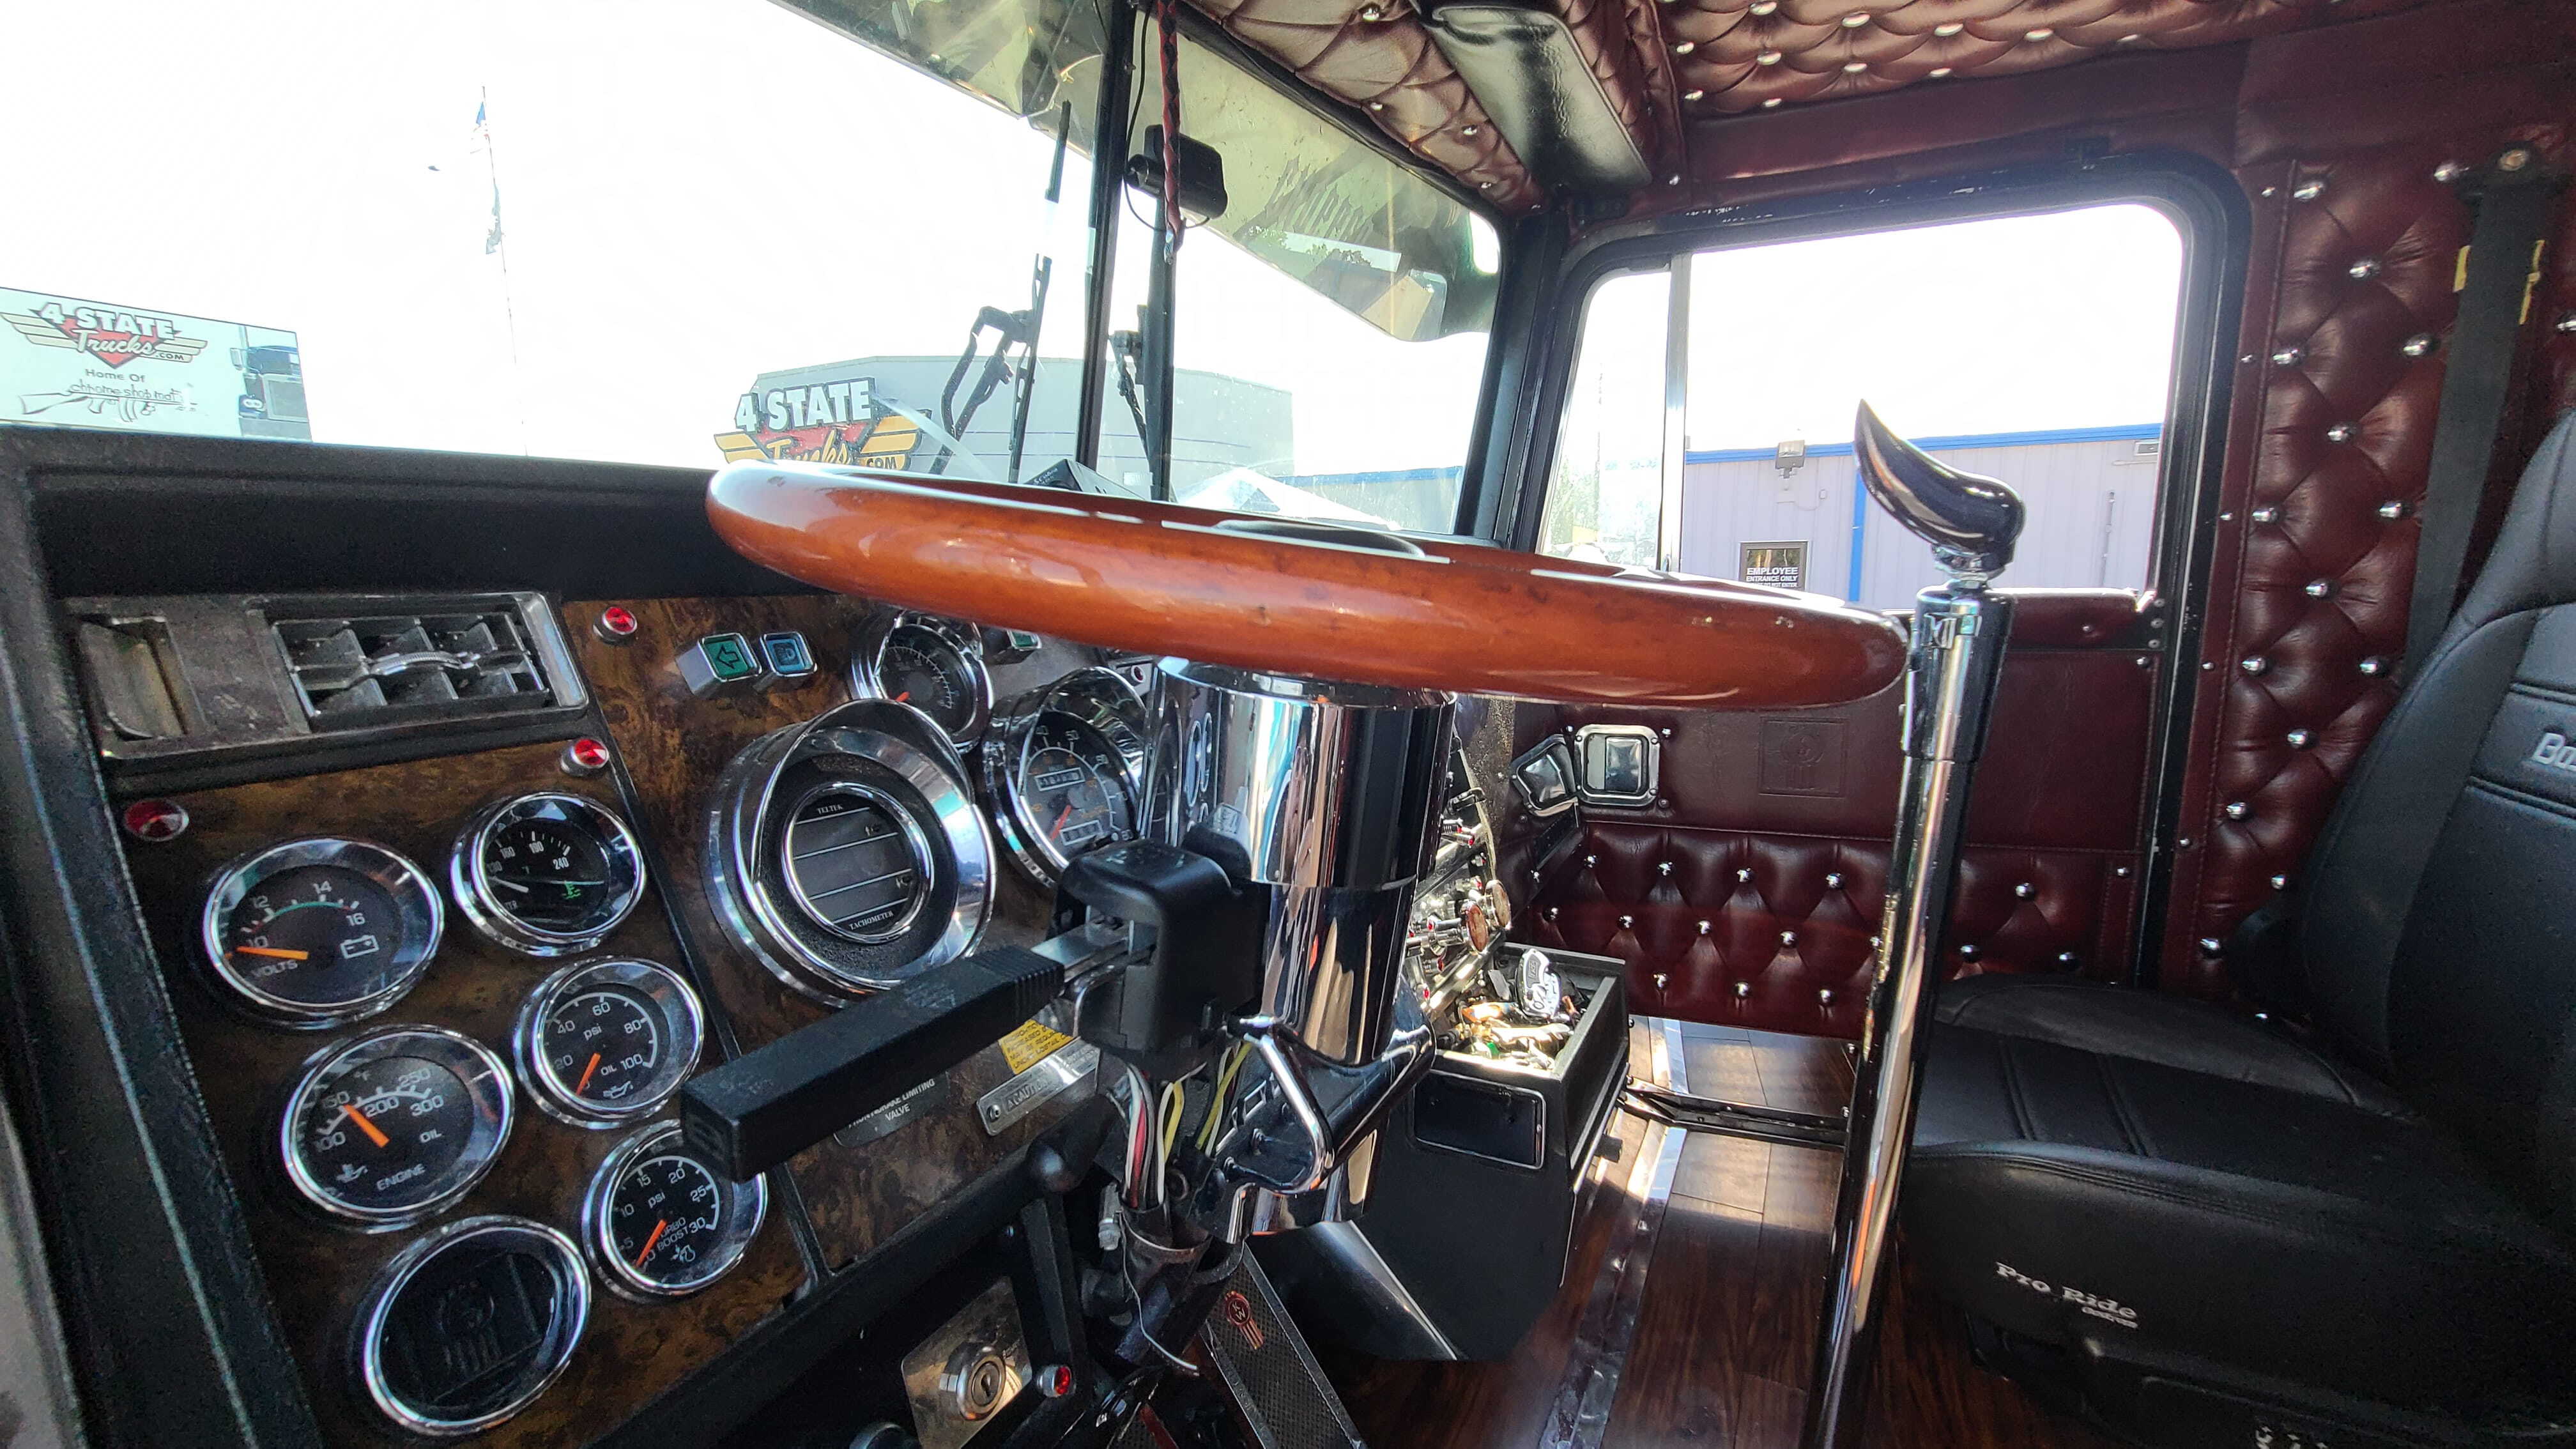
Cab Seals, Hardware & Electrical Conversions
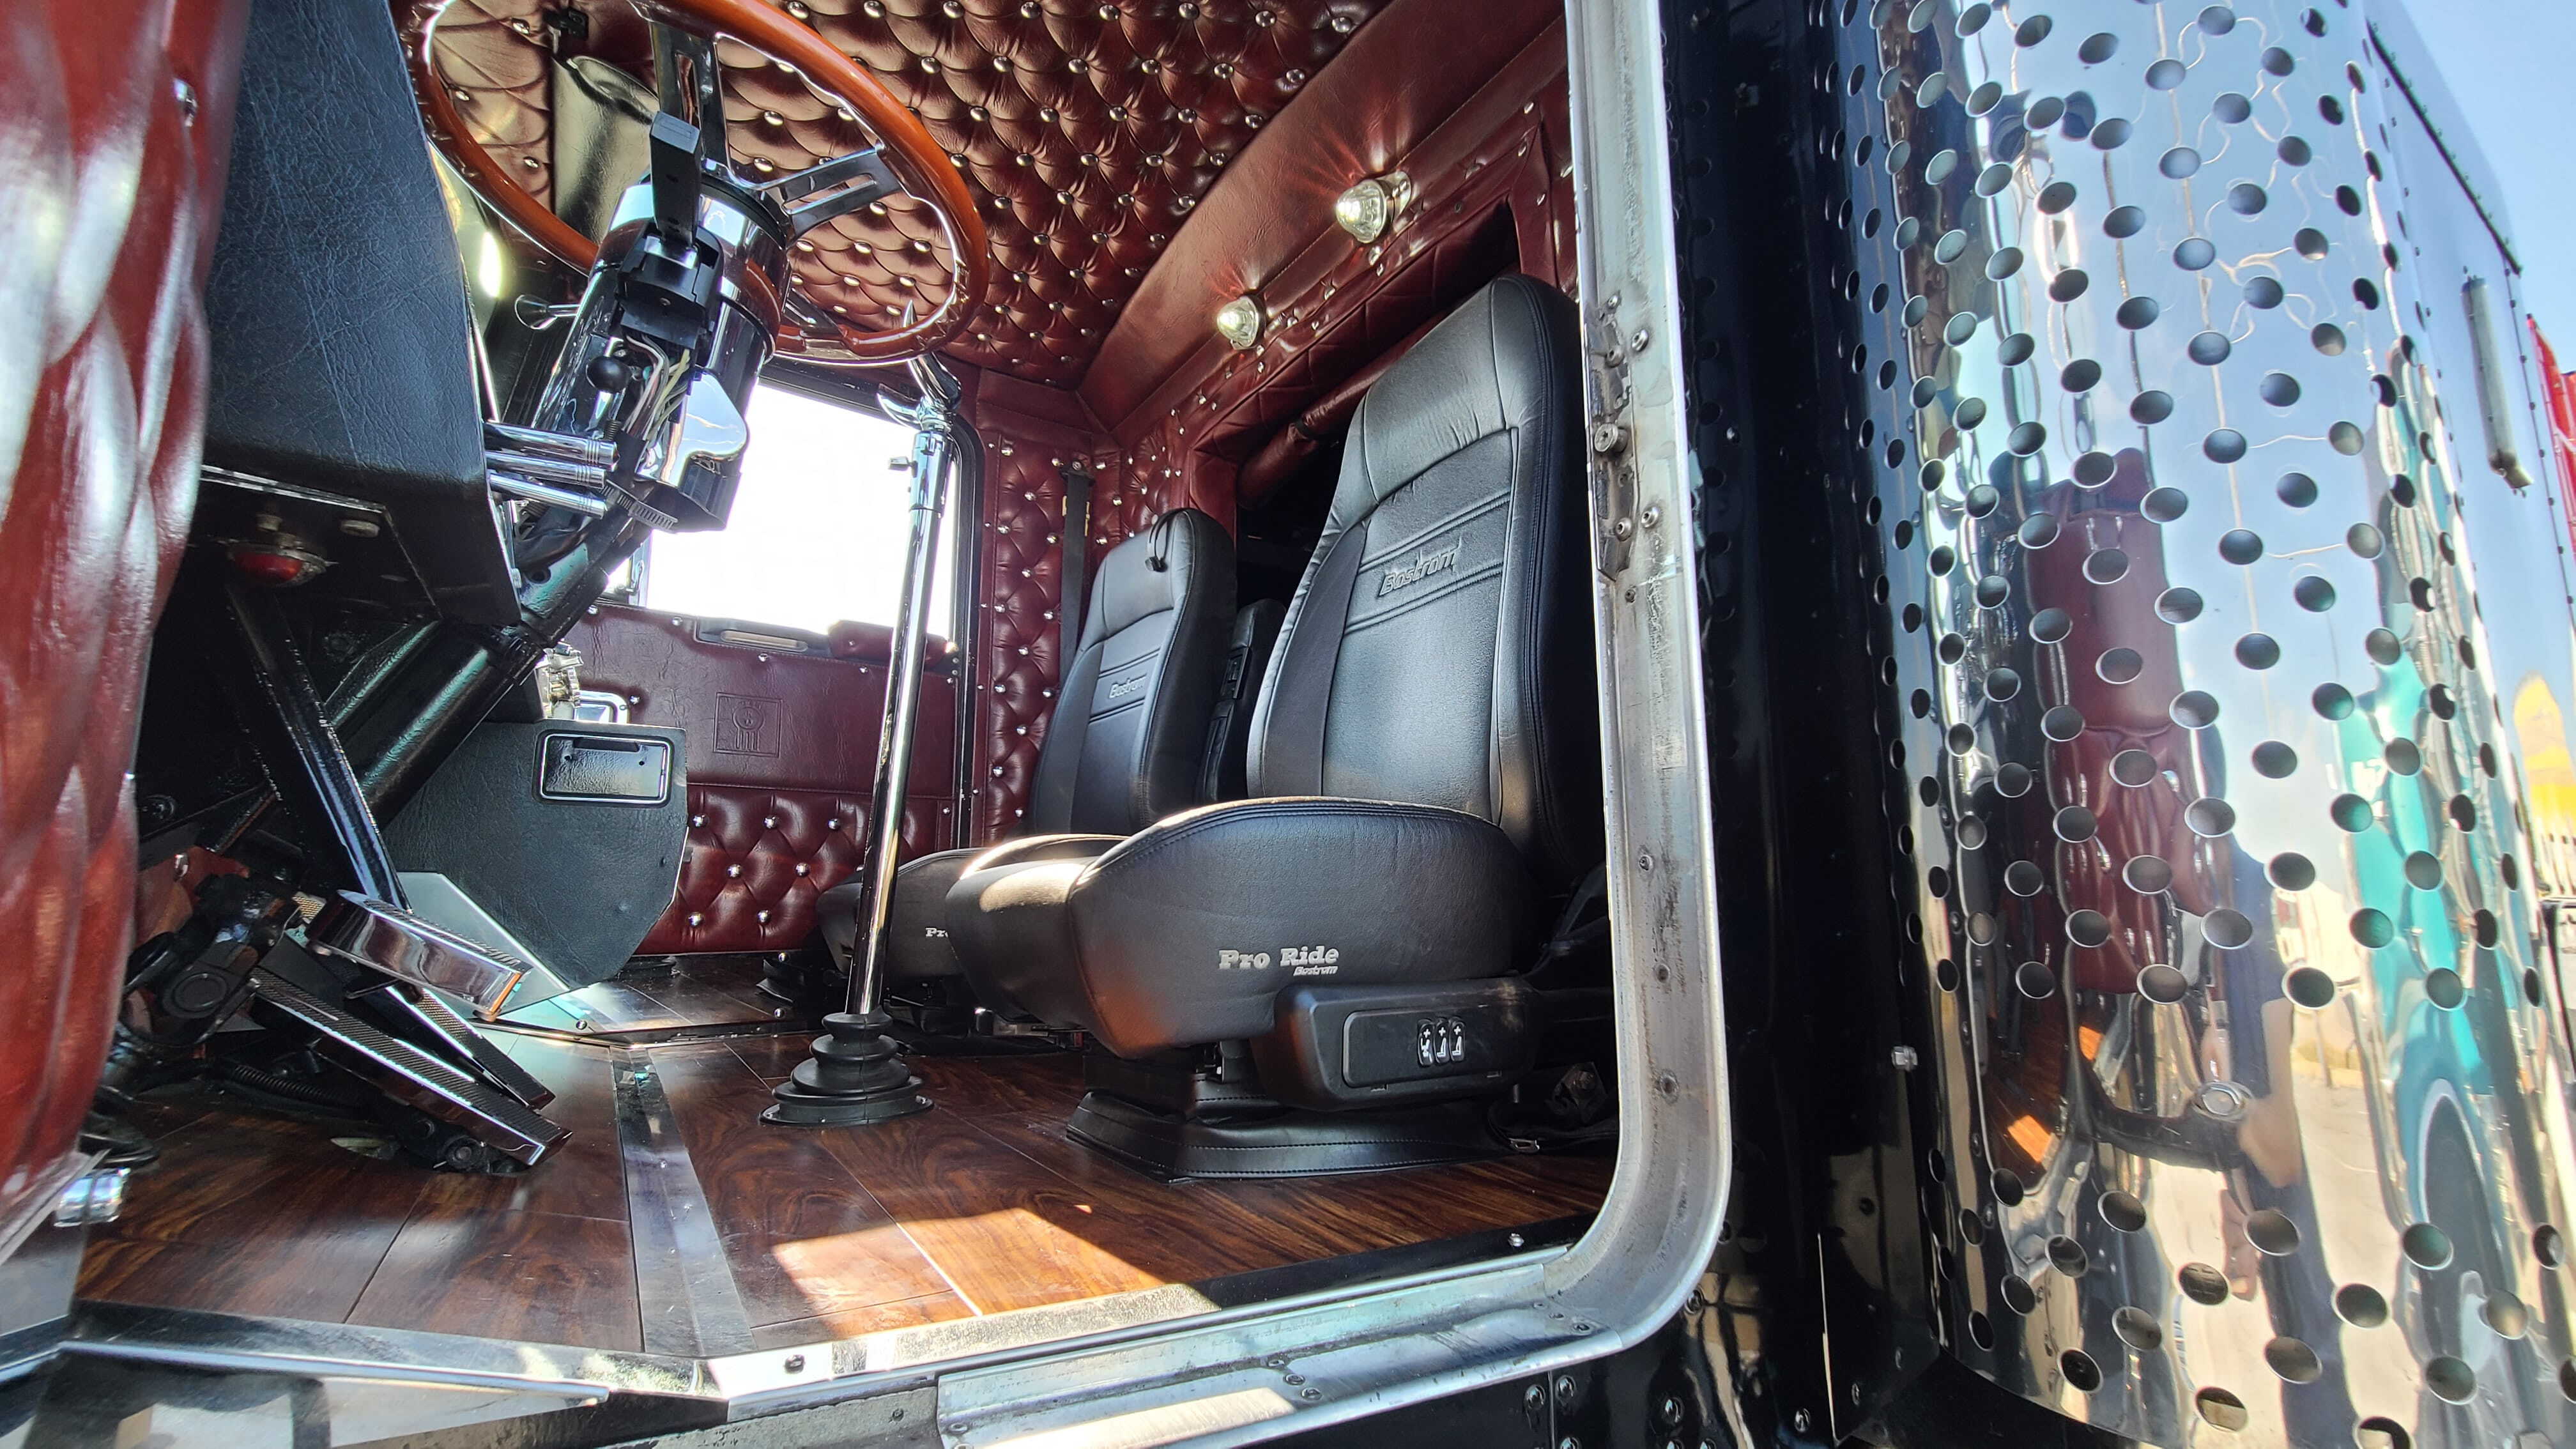
Restoring structural integrity means sealing the cab from environmental wear and converting ancient air systems over to reliable electricity.
- Cab Seals & Weatherstripping: The narrow cab of the W900A relies on specific flat-glass windshield locking seals. Source a master door seal kit, fresh vent window rubber seals, and flocked window glass channels to completely eliminate classic highway wind whistles and water leaks. Replace sagging door hardware with fresh OEM striker pins.
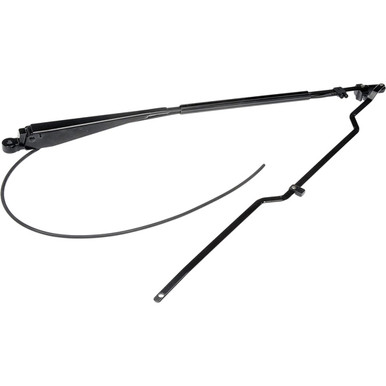
- Ditching Pneumatic (Air) Wipers: 1960s-era W900A models left the factory with Sprague air-operated windshield wipers that used compressed air to push an internal piston. These legacy systems suffer from extreme speed fluctuations based on engine RPM, completely lock up in freezing temperatures, and develop air leaks that leave the blades motionless.
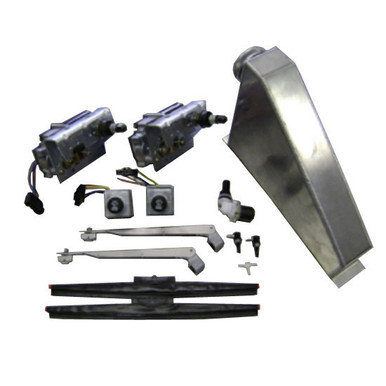
Electric Wiper Conversion (Make it Easy, Buy the Kit)
Strip out the entire pneumatic system and install 12-volt DC electric rotary wiper motors.
This requires drilling new mounting plates or modifying the cowl area to clear the electric motor housings.
Ensure the motor's rotating shaft adapts smoothly to the original pivot shafts so the wipers sweep along the flat glass correctly.
Finally, swap the old pneumatic twist-valve on the dash out for a modern multi-speed electric switch.
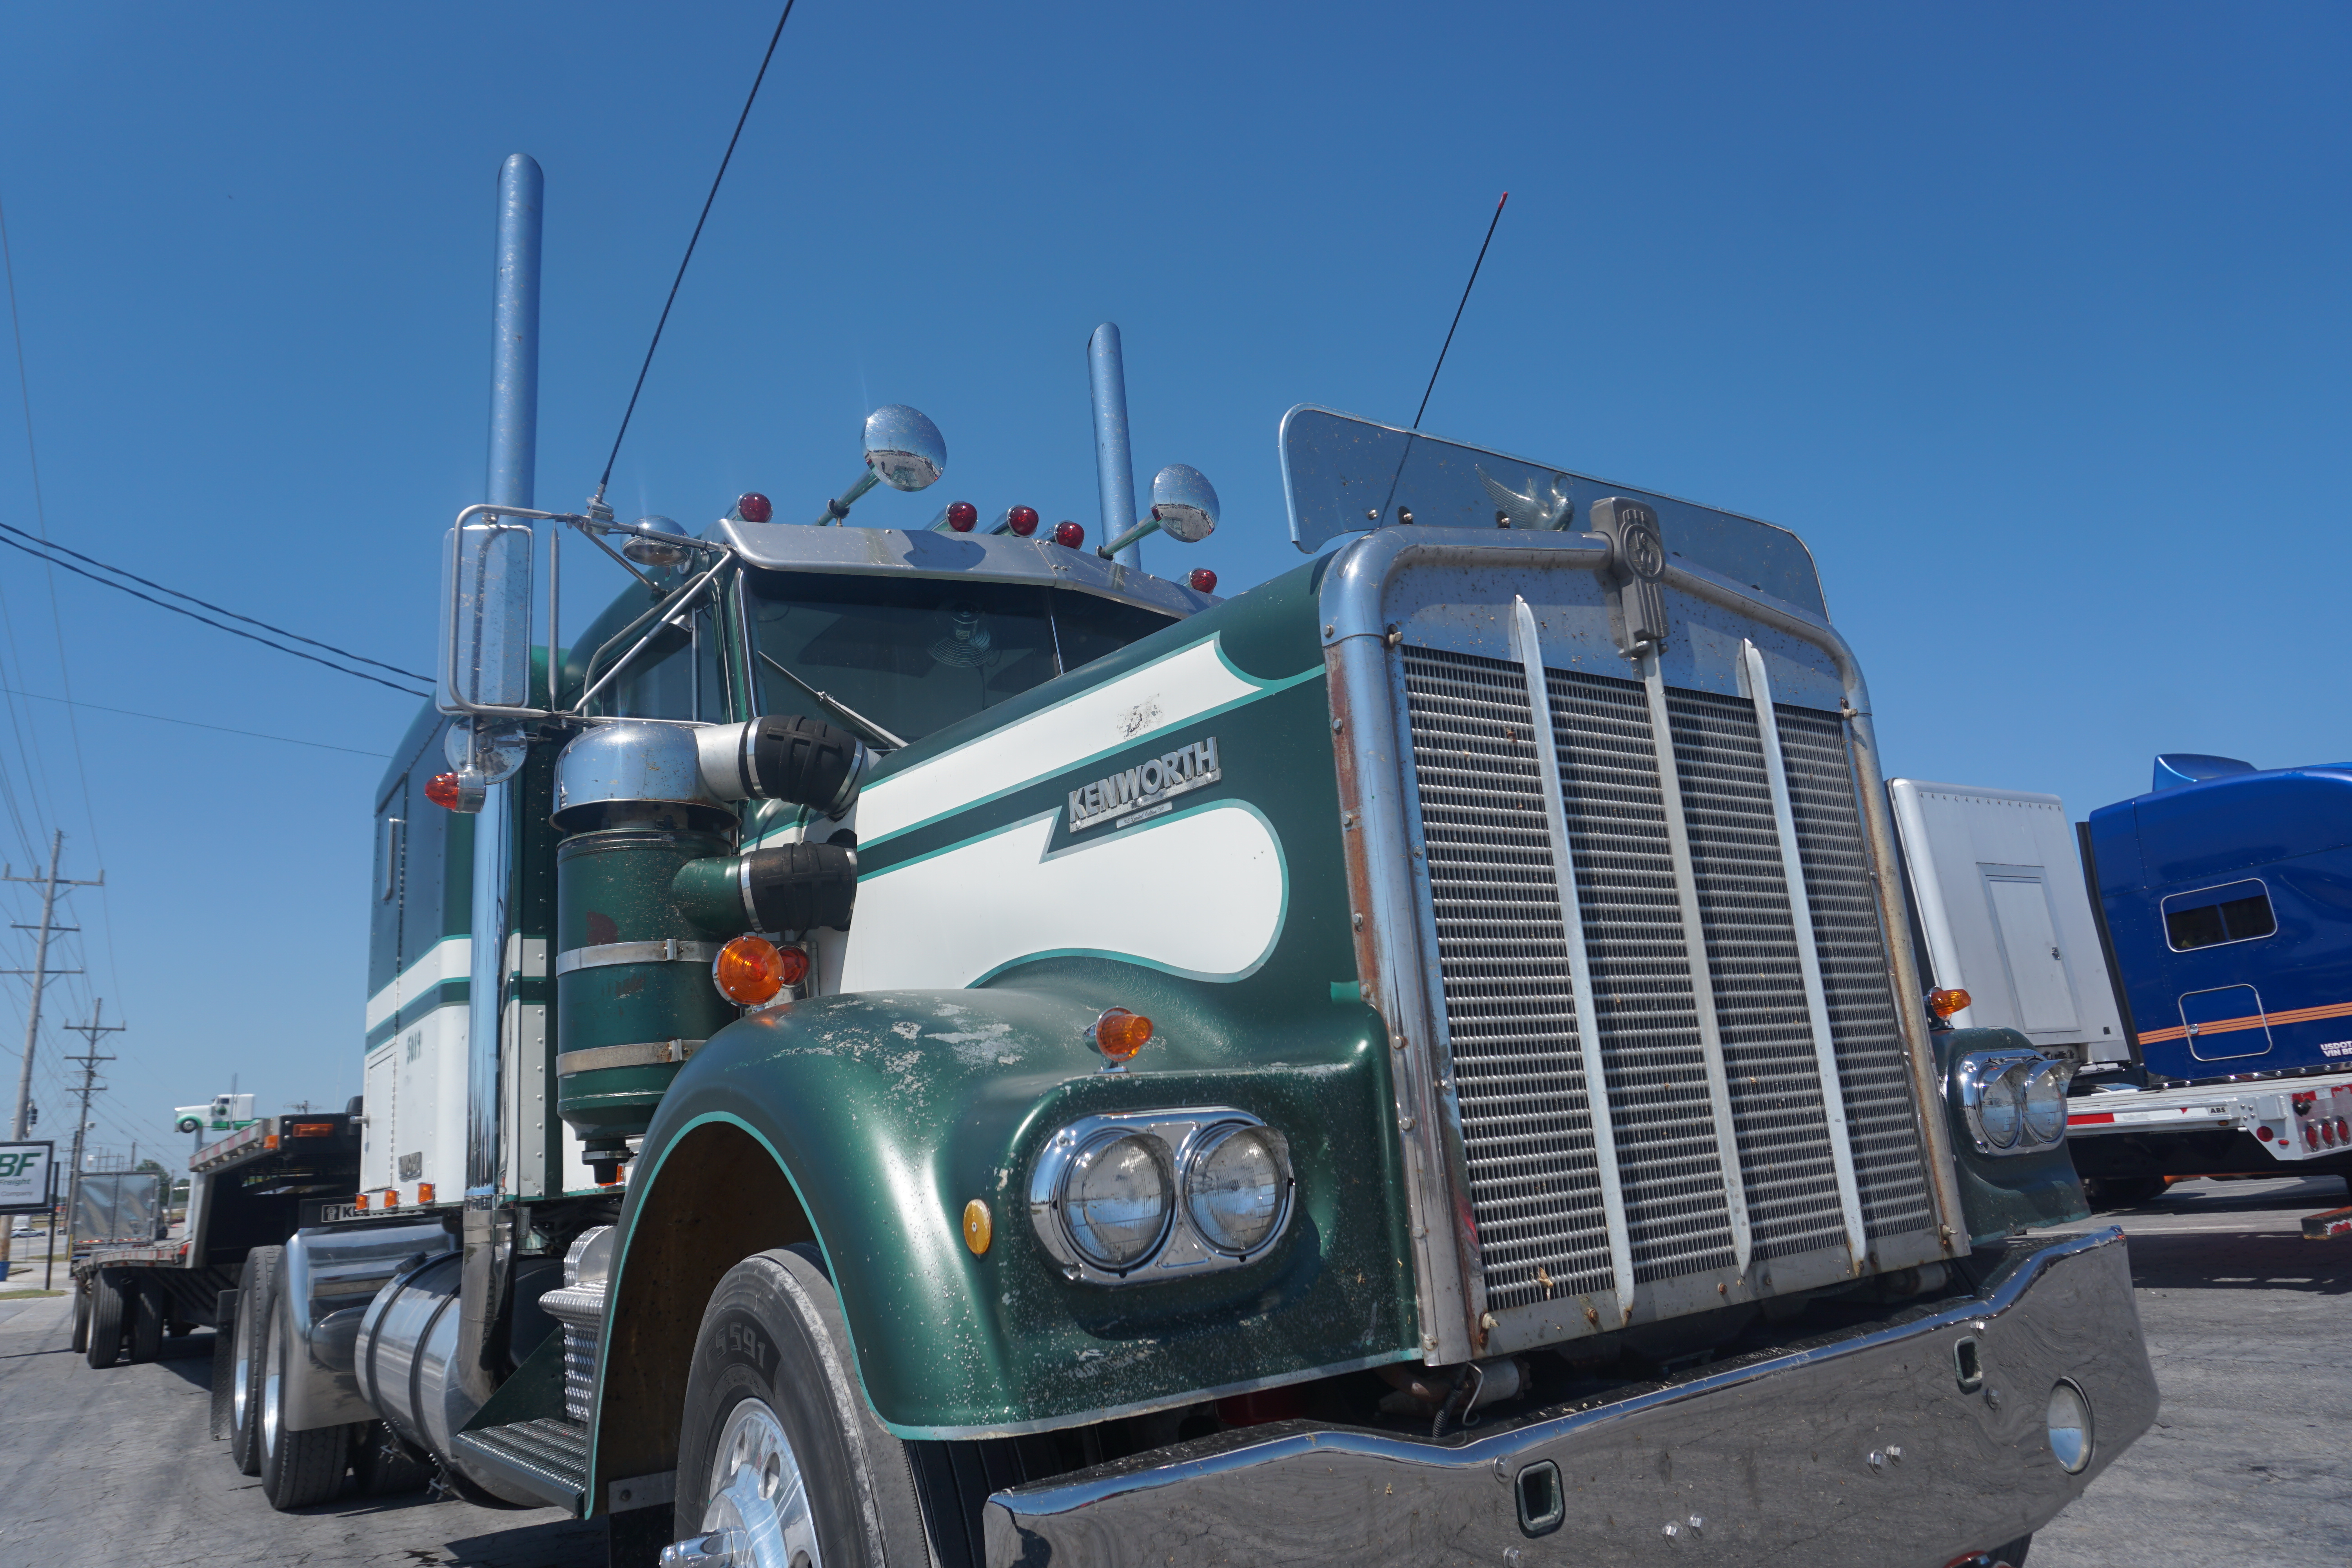
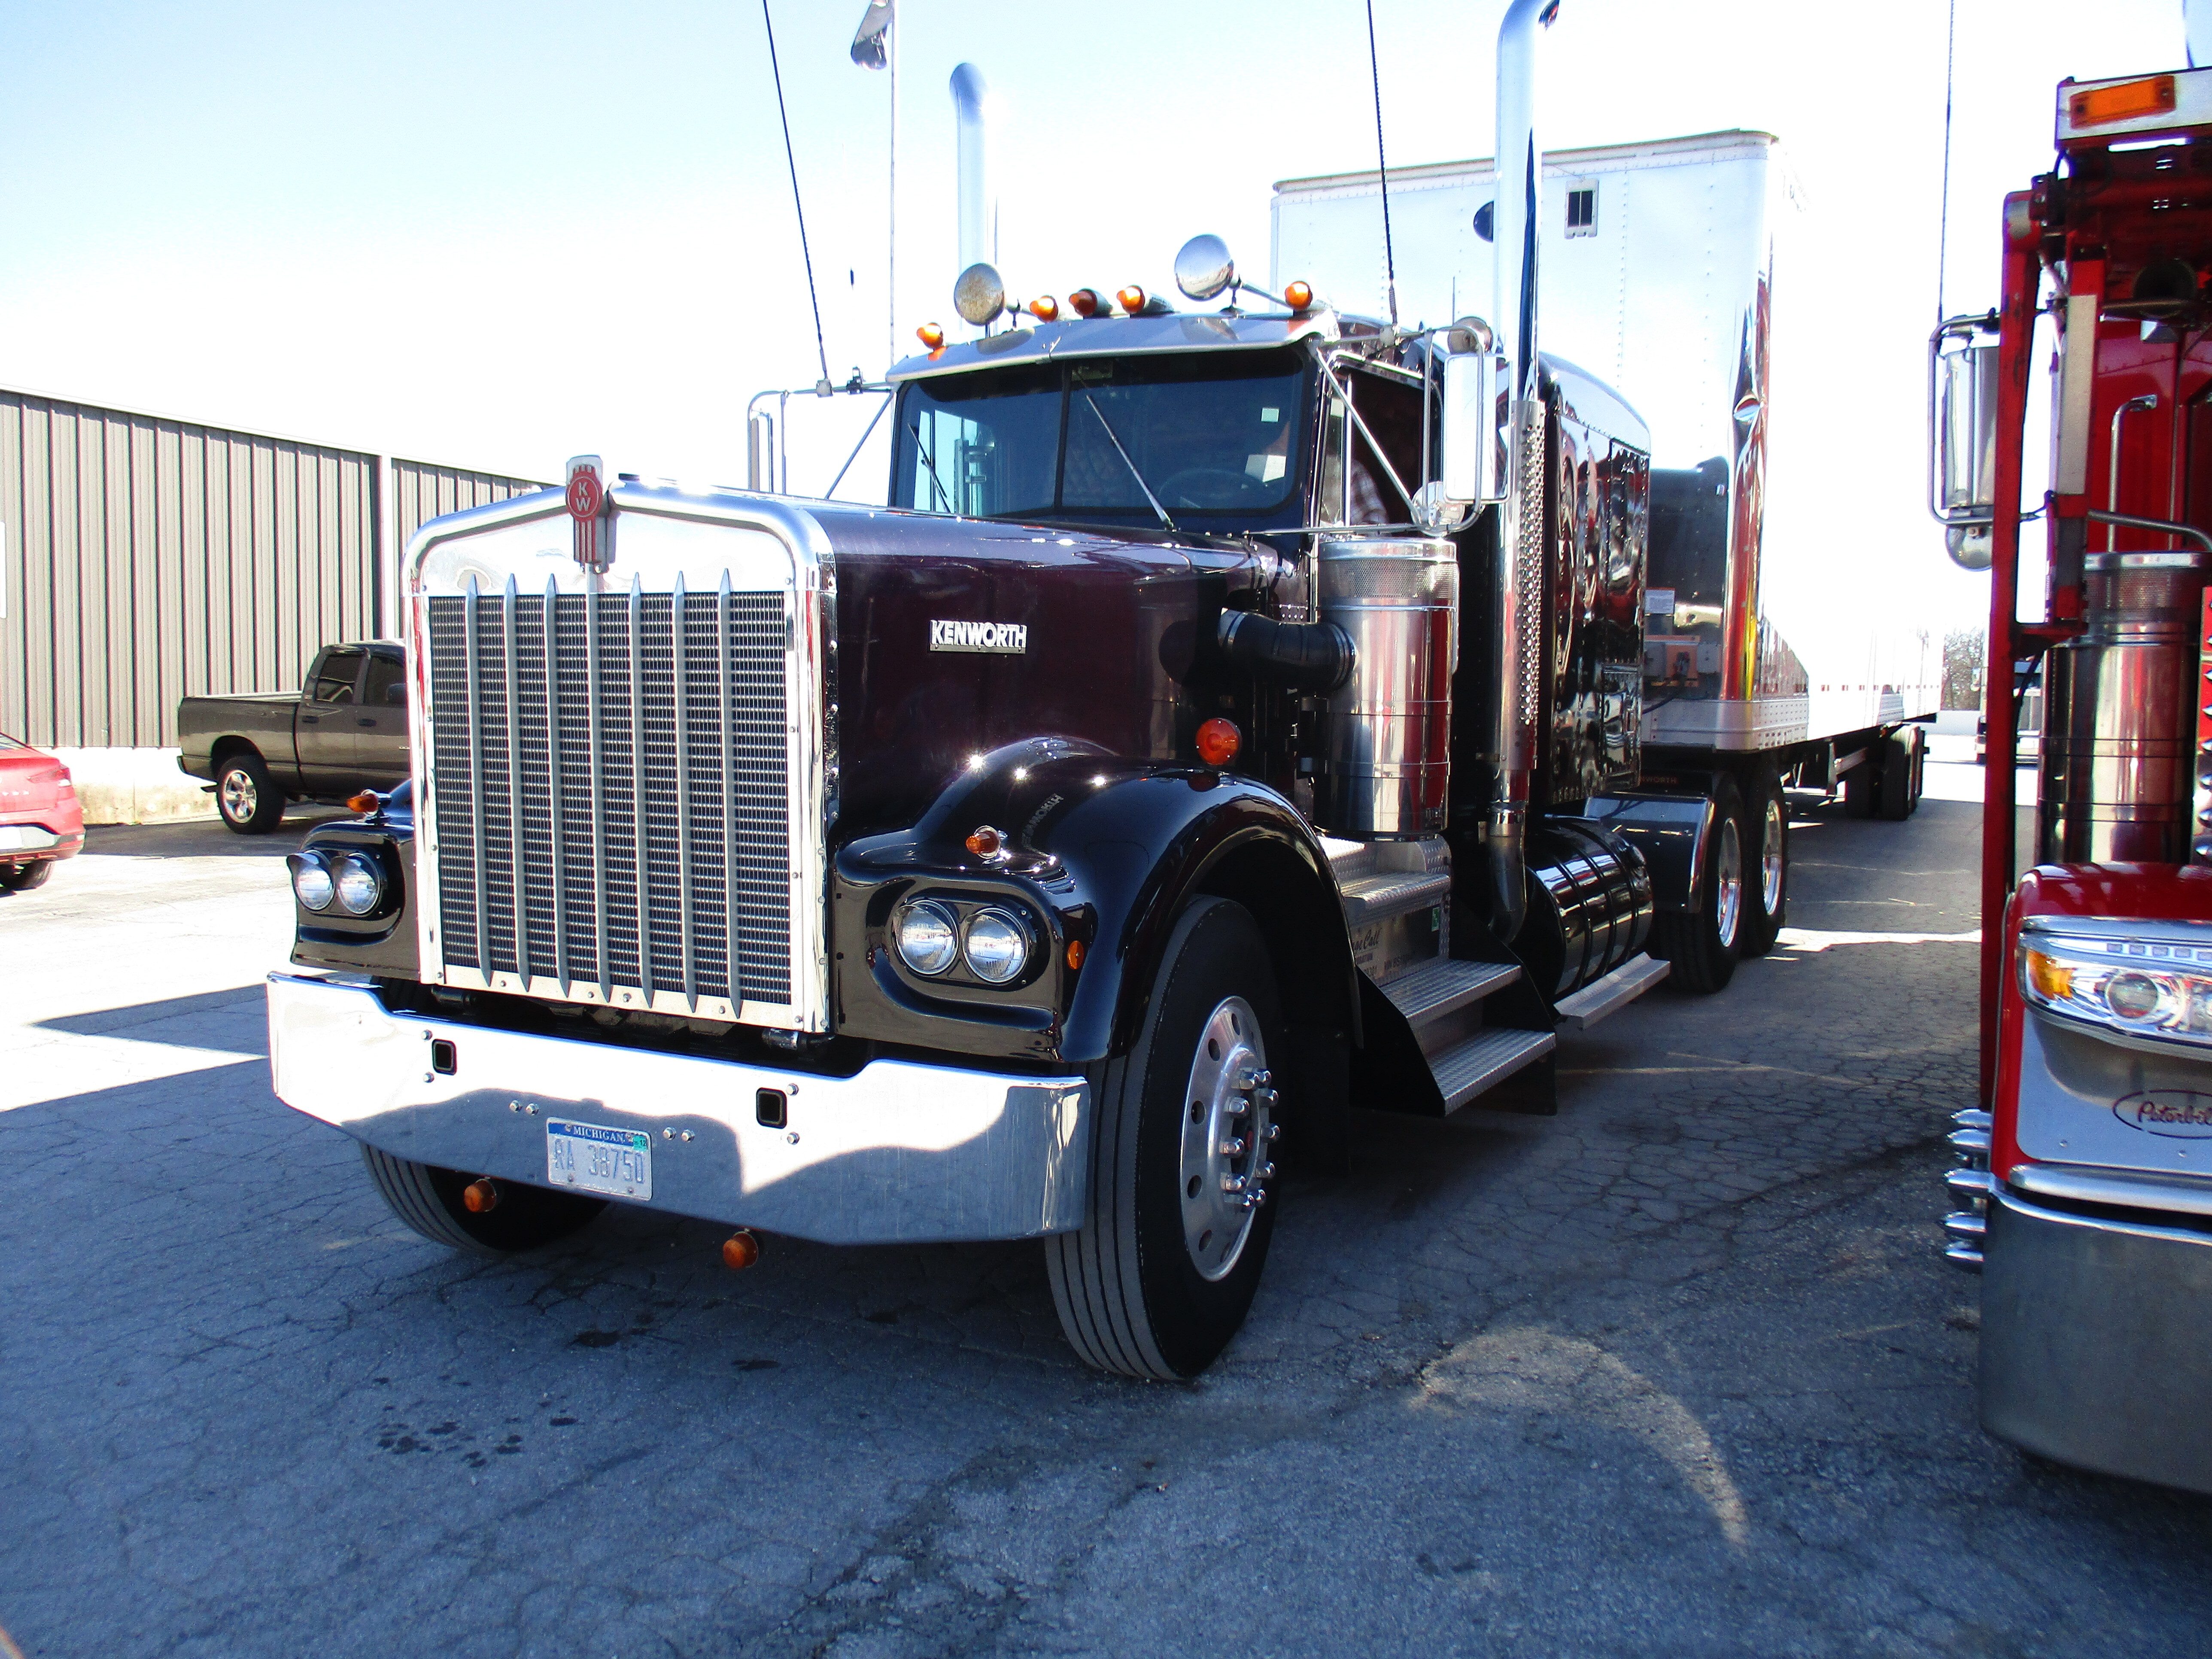
Exterior Custom Chrome & Vintage Lighting Upgrades
This is where a classic restoration goes from building a functional W900A highway truck to an award-winning show truck.
Slammed Custom Visors
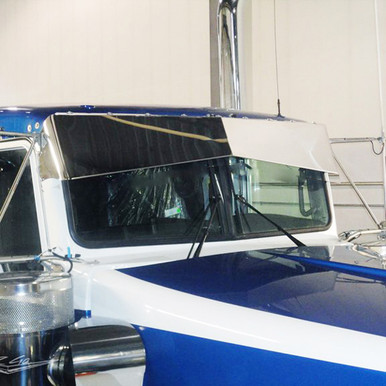
Slammed visor styles press up against the glass, blocking out a lot more sun glare. It's available in various drop heights.
The classic Bowtie visor is a flawless 70s-era aesthetic that perfectly defines the narrow cab.
Other choices include a straight drop blind-mount visor, an aggressive center-dip V-style visor, or a rugged louvered design.
Chrome Stack Tops
Adding a fresh set of chrome stack tops for the W900A can't hurt.
Ditch the old hardware and start fresh. Reusing hardware is one of the biggest mistakes made when installing exhaust stacks.
Punched Grilles & Stainless Steel Bumpers
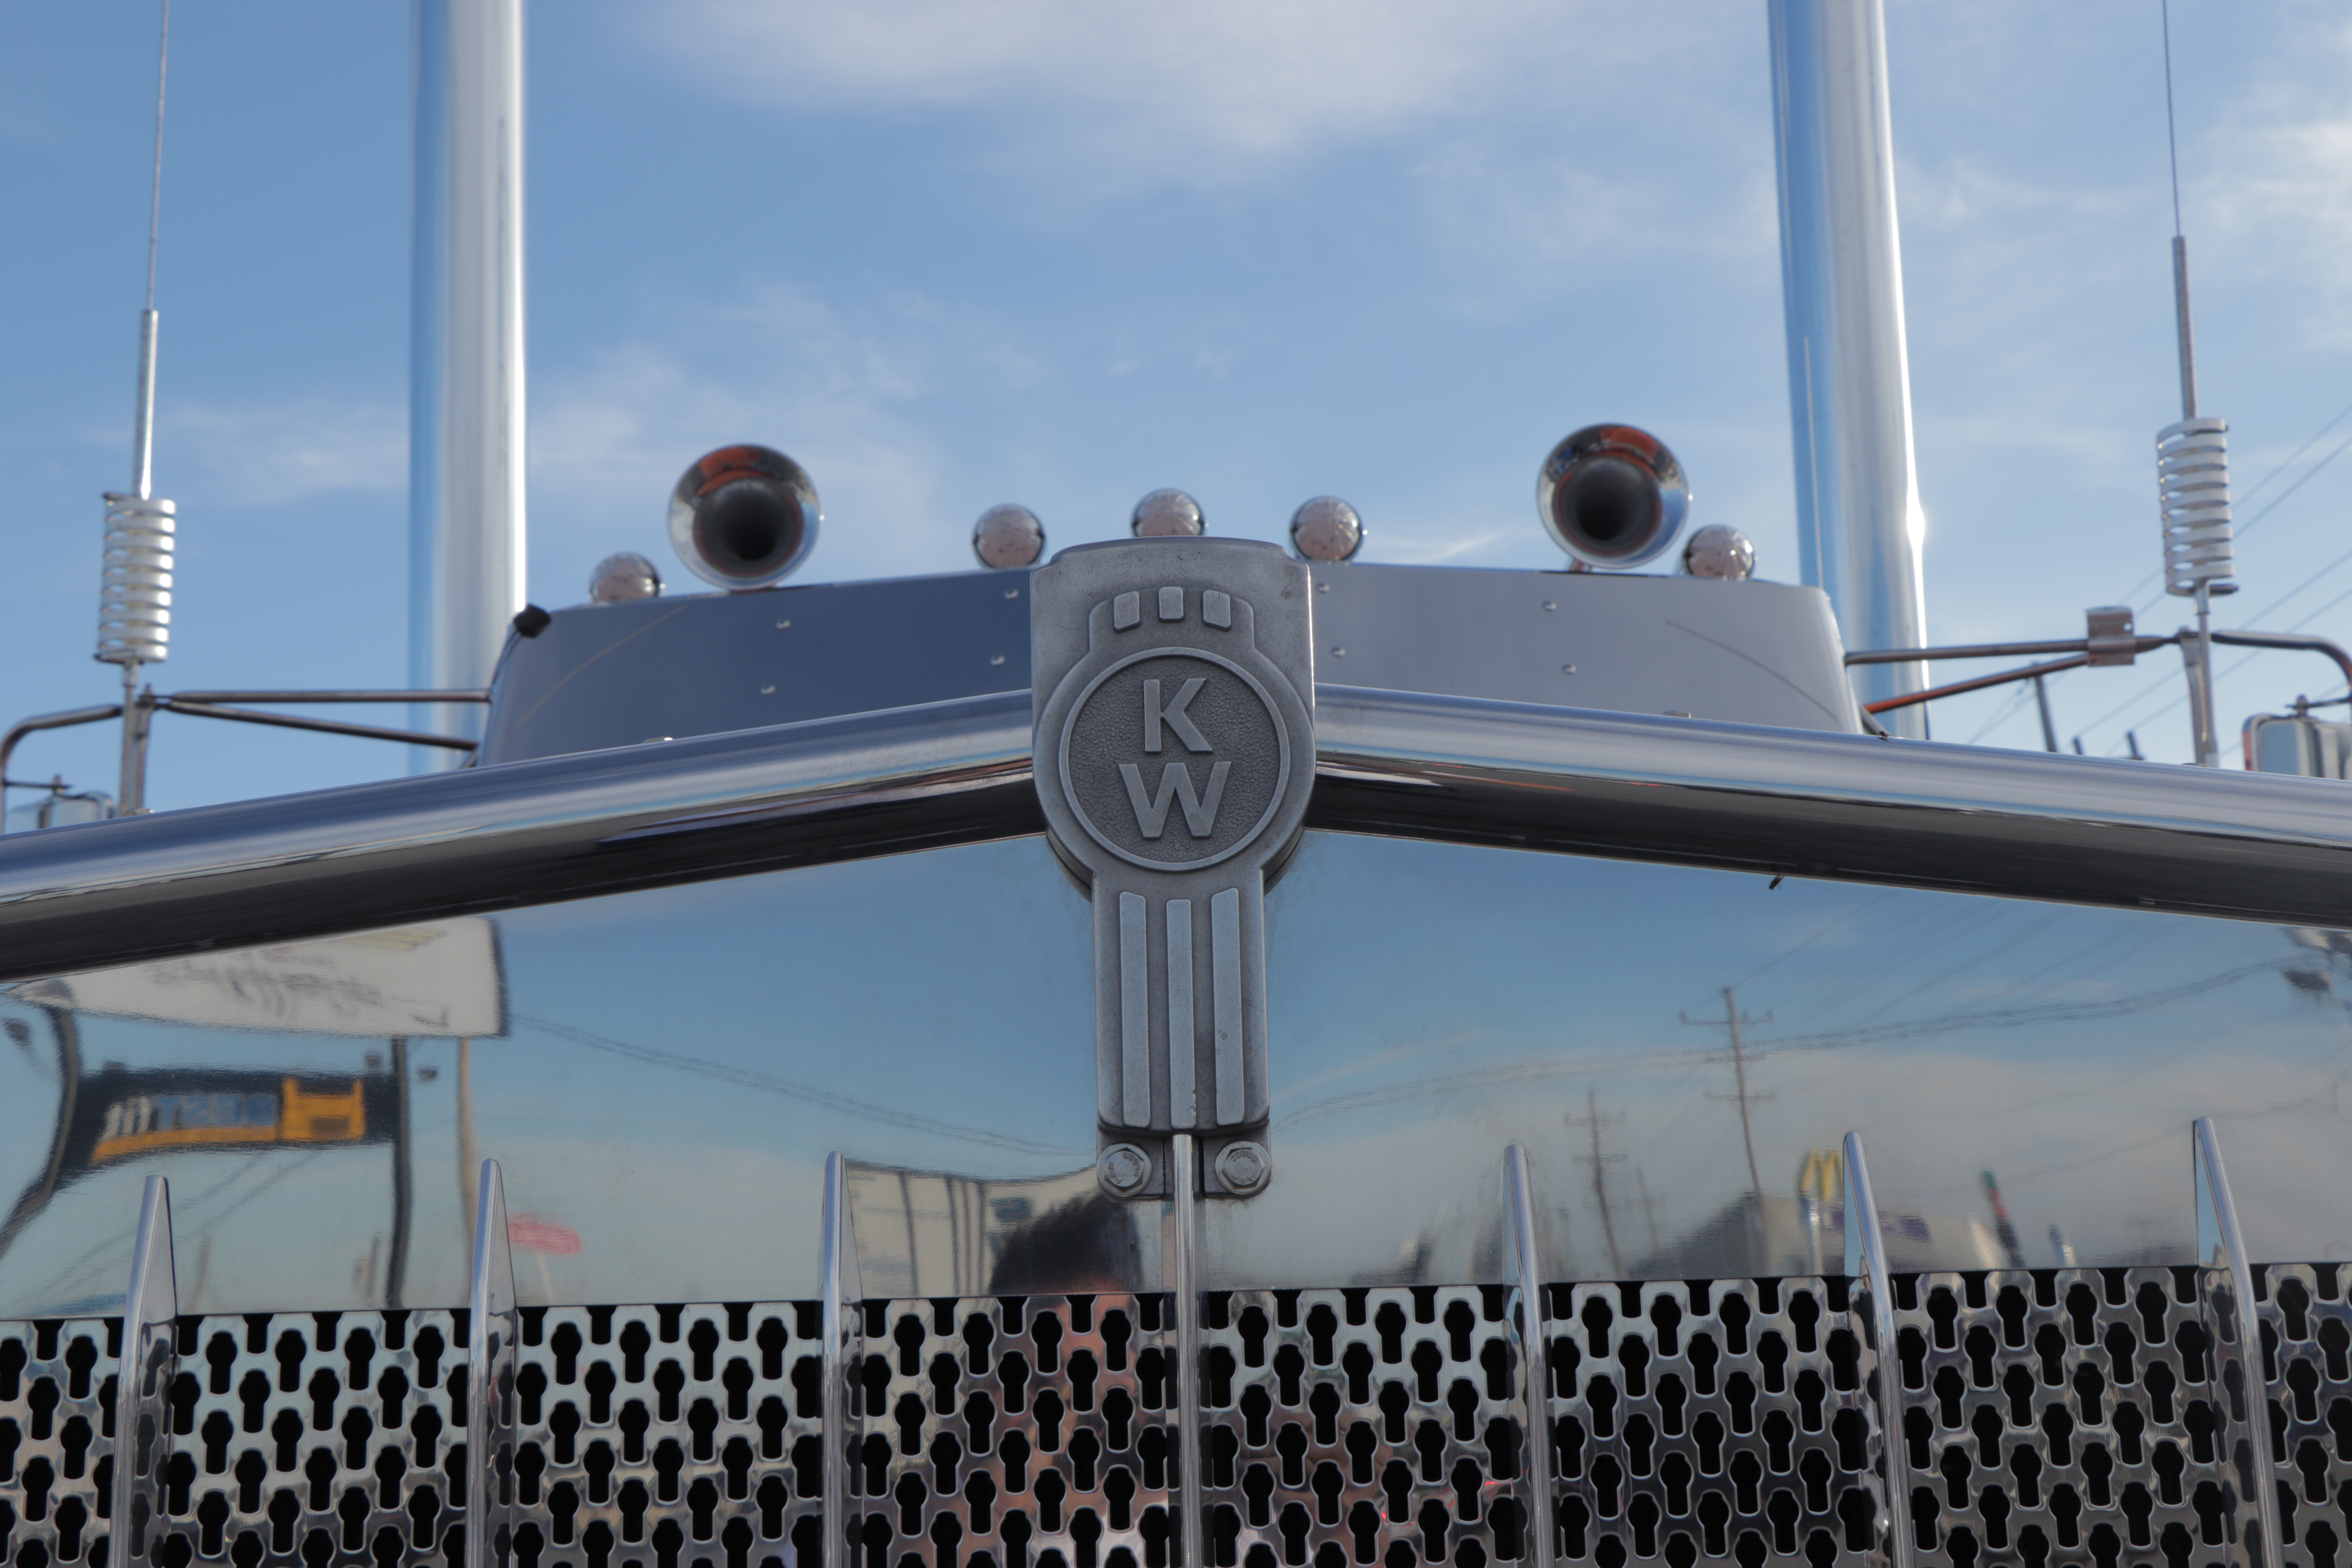
Tailor the front end by selecting custom grille bars, vertical surrounds, and distinct punch pattern styles.
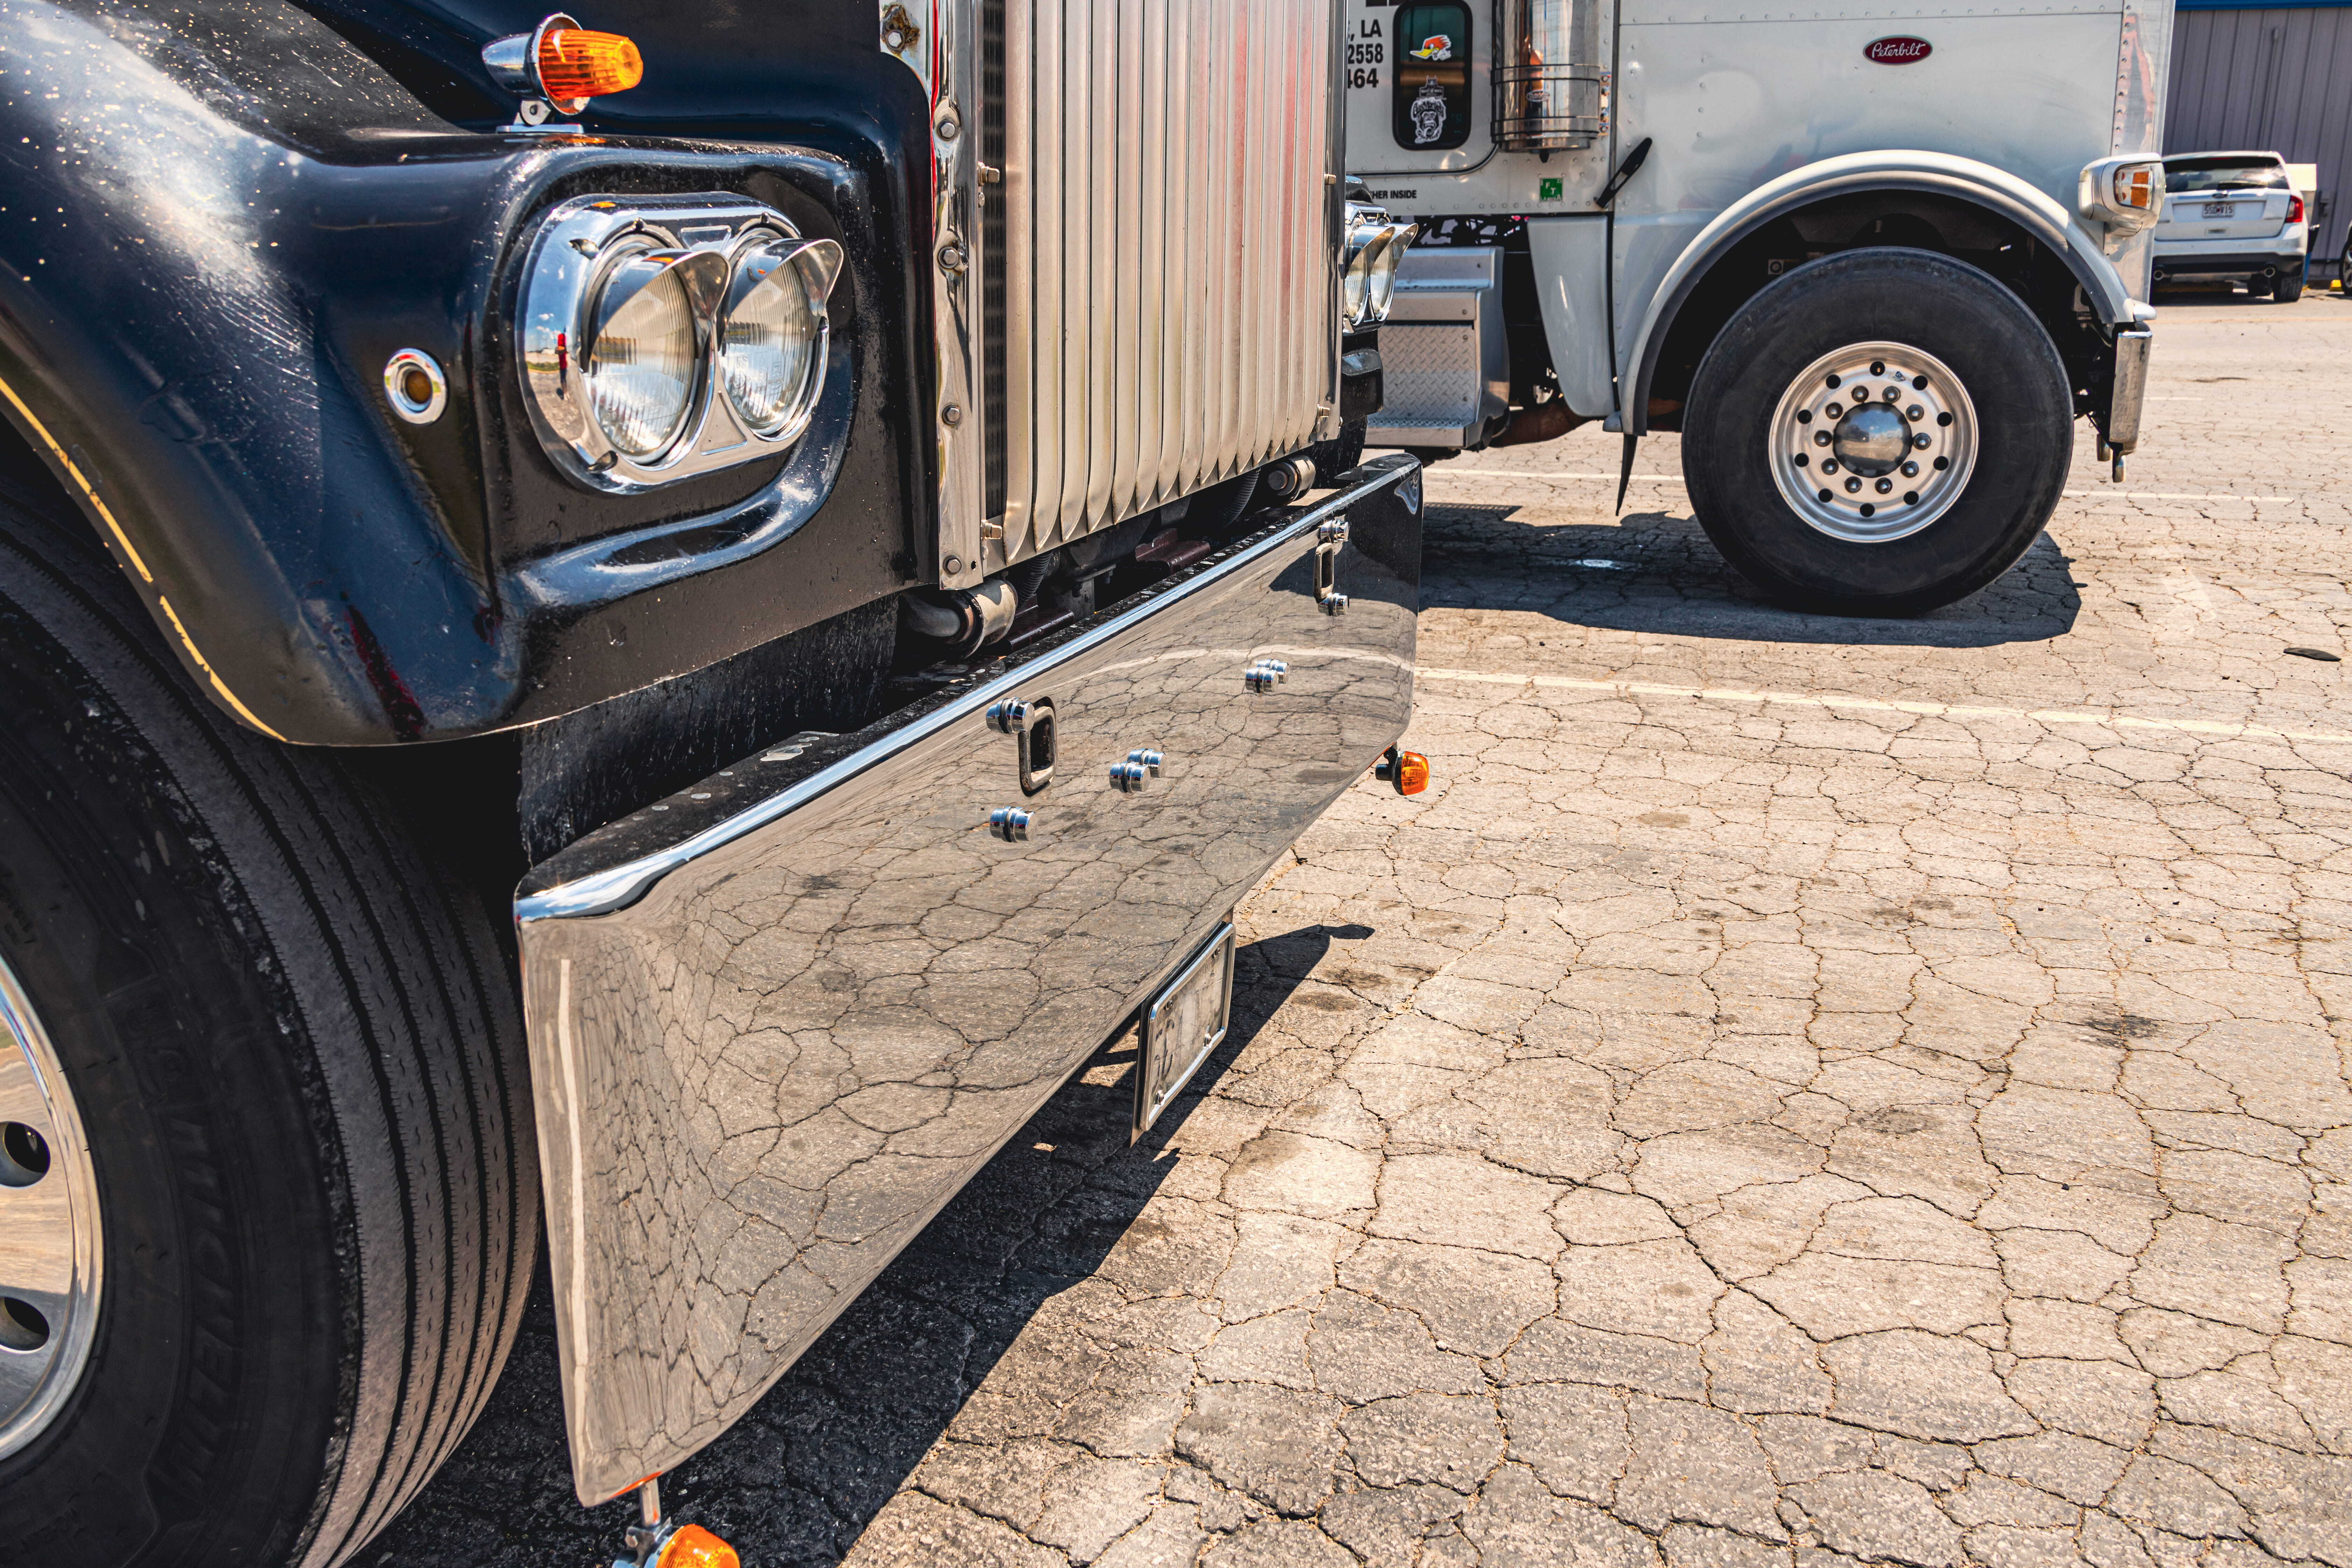
Tie it together with a polished stainless steel bumper—a wide-end Texas-style boxed bumper or a classic tapered bumper completely redefines the rig's stance.
Add polished stainless steel door hinges to replace corroded factory units.
Vintage-Style LED Lighting Upgrades


While the 1950s through the 1980s relied entirely on incandescent bulbs, modern high-output LEDs now come housed inside vintage shapes to offer maximum visibility without ruining retro styling.
- Watermelon Lights: Glass or polycarbonate sunburst-style watermelon lights are an absolute must-have accessory when refurbishing a W900A, offering a powerful, timeless glow.
- Torpedo, Bullet, and Grakon 1000 Lights: Commonly strewn across the roofline and rear cab to give the flat-top configuration its classic charm. Note: If running a slammed visor setup, you may need to adjust your roof mounts to clear these fixtures.
![]()
- Bullseye Lights: Vintage style rectangular clearance lights that feature a lens with a concentric circle pattern in the center of the glass/polycarbonate
- Beehive Lights: Features a distinct, multi-tiered cone shape with ribbed concentric rings that make the rear light bars stand out.
- Pancake / Penny / Button Lights: Miniature accent lights positioned cleanly along the lower bumper lip, sleeper panels, or frame filler pieces.


- Guide-Style Double-Face Fender Headlights: For a true early-60s look, utilize the legendary Guide 682-C style double-face housings mounted directly on the top of the front fenders.
Interior Cab Comfort & Instrumentation
Sound Dampening & Thermal Insulation
Factory insulation in the 60s and 70s was minimal. Unless a previous owner already covered his or her bases, you'll probably need insulation lining and new flooring.
RELATED POST: How to Deaden Sound in the Cab.

Apply modern multi-layer acoustic and thermal insulation sheets to every square inch of the bare floor, firewall, sleeper compartment, and door interiors before laying down new upholstery and header boards.
This effectively bars brutal engine heat and deafening road noise from the cab.
Air-Ride Seating Comfort
Swap out floor-mounted static or basic spring seats for low-profile modern air-ride seats.
Upholstering them in vintage-style distressed leather or retro button-tuck saves your back while keeping the internal roof clearance correct for the narrow cab.
Add a classic wood-grain or retro polyurethane steering wheel to match.
Dashboard Instrumentation
Reconstruct the dash panel using polished flat aluminum or custom wood grain fascia. Ditch legacy mechanical gauges that require running live oil and hot coolant lines straight into the cab.
Kinked copper cap tubes render mechanical gauges wildly inaccurate over time.
Instead, purchase premium electronic gauges from manufacturers like ISSPRO or Classic Instruments.
These utilize precise modern electronic 12V sensors and sending units under the hood while maintaining the exact period-correct typeface, chrome bezels, and classic toggle switches on the dash.
Classic W900A Trucks that were Refurbished
Here are some awesome examples:
Gold Nugget

- Owned by Charlie Bates Jr., this Kenworth W900A 1980 is a refurbished custom truck that’s characterized by its golden brown body paint, amber-colored watermelon marker lights, and finely-polished 304-stainless steel accents to tie it all together.
Ploch Farms
Kenworth W900A 1977 bold-looking heavy-hauler with custom chrome accents and a unique paint job.
Longhorn
- Kenworth W900A 1981 antique custom bobtail, long-hood model known for its unique earthen tones paint job and extensive chrome detailing.
Cherry Pie
- Completely refurbished 1973 Kenworth W900A with a V8 CAT engine, iconic bright cherry-red paint, and retro 70s-style heart-shaped sleeper windows.
Bob Pleva’s W900A Custom Build
- This Kenworth W900A 1981 model has a completely remodeled interior cab that pairs with the exterior custom chrome theme.
We-Haul Logistics LLC’s Custom W900A Truck

- This 1977 Kenworth W900A was restored to become both a show-ready truck and a beautiful over-the-highway truck with a powerful suspension setup for daily payloads.
Shop Restoration Parts for the Kenworth W900A at 4 State Trucks
Completely renovate your classic Kenworth W900A truck with aftermarket systems upgrades, custom chrome, and made-to-fit replacement hardware to hold it all together. Buy everything you need to remodel and restore your truck at 4 State Trucks in Joplin, Missouri.
Recent Posts
-
Haul of Fame: Maggini & Sons Trucking's Legendary Lucky 13 Peterbilt 379
 Every once in a while, a truck comes along that does more than haul freight—it leaves a lasting mark …24th Jun 2026
 -
How to Find the Right FL70 Parts Using Your VIN
 To identify the right Freightliner FL70 parts, you must use your 17-digit VIN and the factory spec d …24th Jun 2026
 -
Iowa Customs: A Peak Behind the Brand
 With so many heavy-hitter brands in competing for driver loyalty, one relatively newer parts manufac …22nd Jun 2026
 -
Common Steering Problems on Peterbilt 379 Trucks
 Here are some of the most common steering problems found on older Peterbilt 379 models, how to diagn …18th Jun 2026
 -
Peterbilt 379 Steering Shaft Replacement Guide
 If you are undergoing a Peterbilt 379 steering shaft installation, this brief guide covers everythin …16th Jun 2026
 -
8 Signs Your Peterbilt 379 Steering Shaft Needs Replacement
 Steering issues on a Class 8 heavy-duty truck are a critical safety concern, and recognizing the bad …10th Jun 2026
 -
Most Common Replacement Parts for Freightliner FL70
 Freightliner FL70/FL80 Business Class trucks see a lot of wear and tear while running job sites. The …9th Jun 2026
 -
Factory Peterbilt 379 Exhaust Mufflers vs Straight Pipes
 When it comes to Peterbilt 379 factory-style exhaust muffler setups versus performance straight pipe …5th Jun 2026
 -
9 Costly Peterbilt 379 Exhaust Stack Replacement Mistakes to Avoid
 Although replacing exhaust stacks on a Peterbilt 379 is a bit easier than some other models, it can …3rd Jun 2026