
How to Install Rear Fenders on a Peterbilt 379
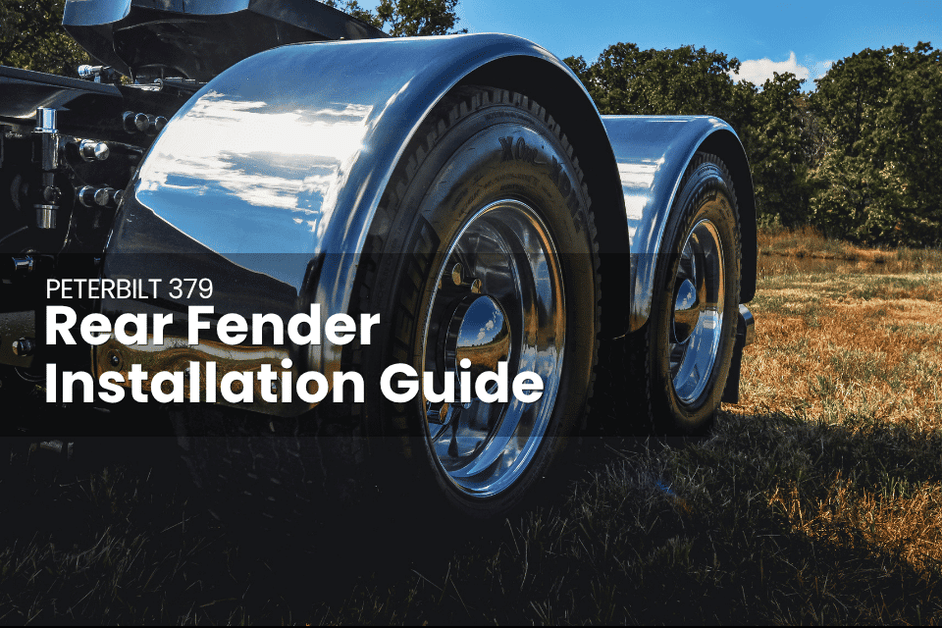
The process of installing rear fenders on a semi truck, specifically a Peterbilt 379 model, will depend on the type of fender.
Whether it’s a full fender or half fender, the difference comes down to:
- Bracket requirements
- Weight distribution
- Suspension clearance.
Here’s an in-depth look at how to properly install Peterbilt 379 rear fenders without costly mistakes or damages.
Watch the installation process for Hogebuilt Half Fenders.
Tools & Materials Checklist
- Power Drill (corded or high-voltage cordless)
- Drill Bits:
- Standard bit for the initial 3/8” holes
- 13/32” drill bit (for enlarging the outer holes to allow for adjustment)
- Bit sized to match the stainless button head bolts for the center bracket
- Low-Range Torque Wrench (capable of accurately hitting 10 ft/lbs)
- Heavy-Duty Torque Wrench (capable of hitting 150 ft/lbs)
- Sockets and Wrenches (matching the 3/8” bolts, 5/8” nuts, and center bracket hardware)
- Flathead Screwdriver or Chisel & Hammer (to bend the tab lock washers against the hex bolt heads)
- Tape Measure (to ensure the fender is mounted square and parallel to the frame)
- Marking Tool (paint pen, silver sharpie, or grease pencil)
- 1” x 4” x 12” Wood Strip
- Wheel Chocks
- Alignment Shims (to center and level the fender on the wood block)
- Safety Glasses (optional for drilling into the fender/frame)
Hardware Checklist
- Tandem Fenders
- E-Z Mount Outside Fender Brackets (2 per fender: 1 front, 1 rear)
- E-Z Mount Center Support Bracket (1 per fender)
- Backing Plates (1-1/2” x 19-3/4”)
- 3/8” x 1-3/4” Bolts (4 per outer bracket, 8 total per fender)
- Tab Lock Washers (sized for 3/8” bolts)
- Rubber Grommets (to place between the fender and the outer brackets)
- 5/8” Nyloc Nut (to secure the center support bracket to the truck frame)
- Stainless Steel Button Head Bolts & matching Nyloc Nuts (to secure the center bracket to the fender)
Tips for Installing Semi Truck Fenders
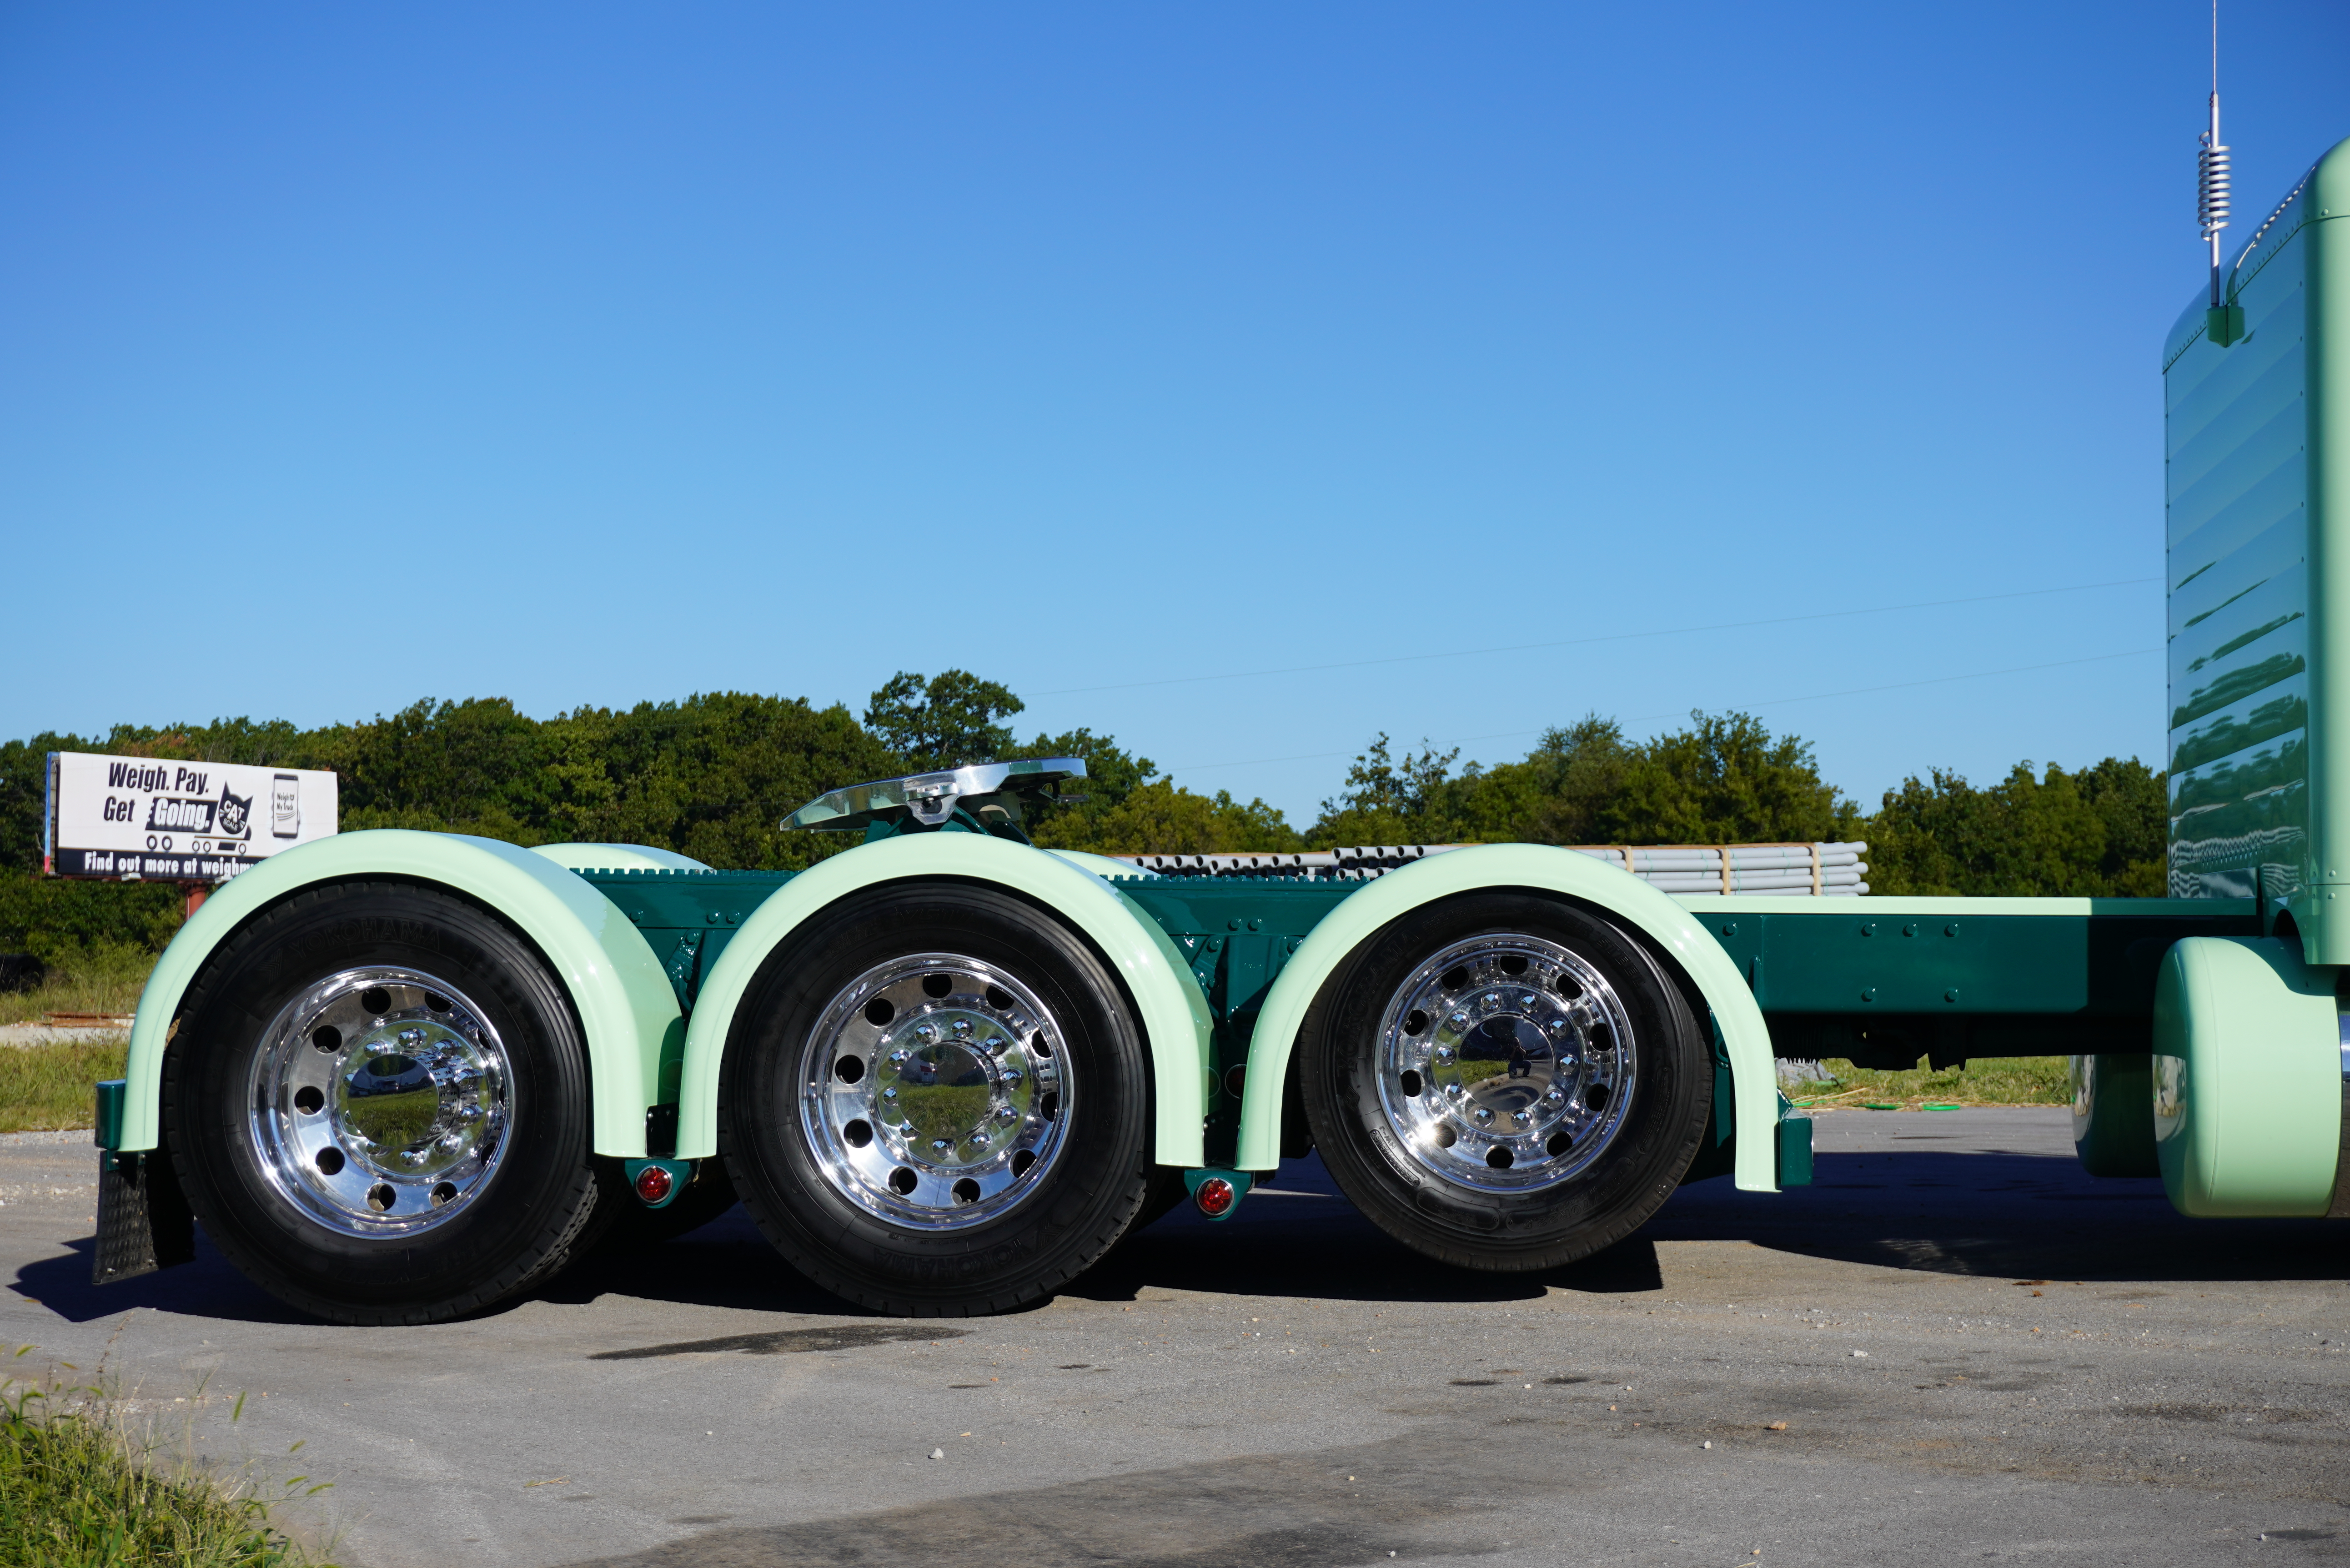
The fender position depends on centerline fitment and rim configuration.
First, confirm the rear fender fitment on the Peterbilt 379:
- Center-to-Center Axle Spacing
- Tire Diameter and Width
- Frame Rail Width & Mount Location
- Suspension Type (Air Ride or a Leaf Spring)
The axle spacing on the Peterbilt 379 will determine bracket placement, tire clearance, and alignment. It typically has either a 53-, 54-, or 60-inch axle spacing.
How to Get Correct Measurements & Avoid Fender Damage
Measure suspension travel first. Set the fender height around the real tire and suspension position (eg. how tall it will be once the air bags are inflated).
Check the fifth wheel height! As the truck bounces on the air bags over the road, you don't want the fenders, fender brackets, or tires getting beaten up and damaged.
The Safest Clearance Measurement:
- You should have a total of 5 inches from the top of the tire to the top of the fifth wheel.
- Give 1-inch travel room from the tires to the bottom of the fender.
- 4 inches from the fender to the fifth wheel.
If you have around 4 3/4-inch of total gap between the top of the tire and top of the fifth wheel, it's close to the required total clearance gap, and will work.
Reduce Peterbilt Low Leaf suspension travel about 2 inches before the final fender placement. Use suspension stops or spacers whenever necessary.
New vs Worn Tires
Tire wear plays a role in how fenders are mounted. Worn tires need added clearance figured into calculating the final fender height. New tires with fresh tread could change the clearance slightly so that the fender lip rubs against the tires. For most Peterbilt 379 trucks, the wheels are typically 22.5-inch or 24.5-inches.
Avoid the #1 Biggest Mistake When Mounting Peterbilt 379 Fenders
Measuring the clearance at ride height won’t cut it. You need to account for full articulation of the fender based on the air ride suspension.
You’ll be mounting the fenders while the suspension air bags are deflated.
You’ll need the right fender radius for the Peterbilt axle spacing.
As the suspension airs up, the frame and wheels pivot forward (often around 3/8 of an inch).
So, the fender needs to offset slightly forward while the suspension air system is down so that the fender aligns to the tire once the truck is lifted to operating height.
How you mount it depends on the specific suspension components occupying the frame rails.
Mock-Up, Truing and Setting the Ride Height
Stainless steel half fenders often have a slight torsion warp from shipping.
Before templates are traced, the fender should be seated on the brackets and weighed down – using a weight (ex. Heavy bean bag).
This will make the front and rear drops hang perfectly parallel to the tire sidewalls.
Once the visual gap at the ride height is confirmed, the air is dropped at the final time for a rub check.
After that, the mounting template is transferred to the stainless shell so the paddle holes can be drilled out.
Stainless vs Fiberglass Fender Tolerances
The approach to mounting a fender differs slightly based on the material being used.
Fiberglass fenders require physically notching, grinding, and cutting the fiberglass shell itself to sit flush around the chassis mounting brackets.
Conversely, installing stainless steel half fenders demands that the integrity of the steel edge remain untouched; the spatial challenges are solved by fabricating the brackets underneath the fender.
How to Install Full Fenders on a Peterbilt
#1. Prep the Truck and Fender
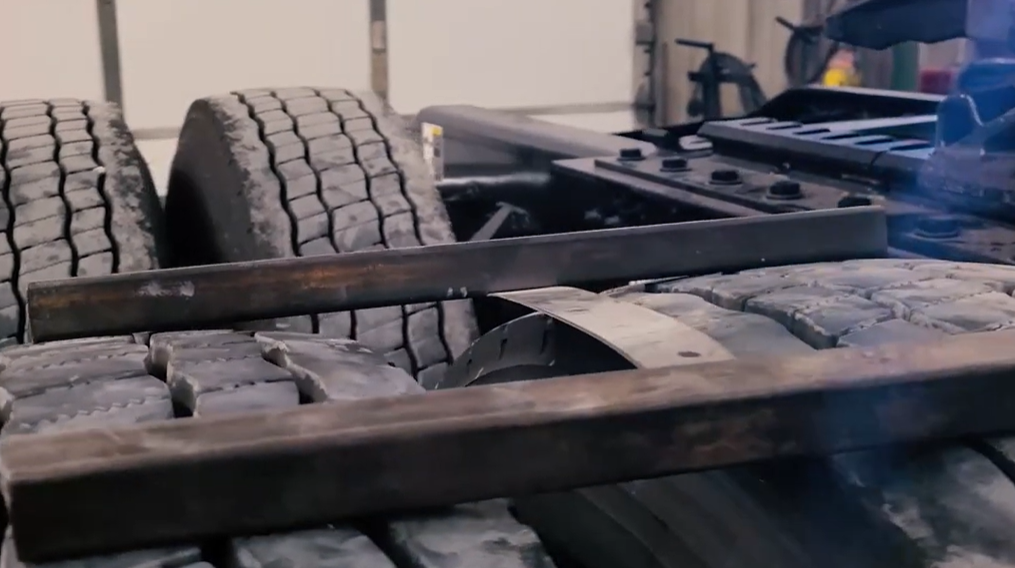
Chock your front wheels and release the air from the rear suspension.
Place a 1x4x12 wood or metal bracket strip across the top of the tires to act as a spacer between the fender/tire.
Rest the fender on the wood and use shims to make sure it is centered and level with the frame.
Check the distance from the outside edge of the fender to the frame at both the front and rear to confirm it is parallel.
WARNING: It is important to keep the fender an equal distance from the frame. Periodically check this distance throughout the installation.
TIP: Use shims when necessary for accurate spacing and leveling. You can basically add or remove shims on either side of the tire to subtly raise or lower or tilt the unbolted fender; this gets it perfectly level with the truck’s frame before you do serious drilling!
#2. Mount End Brackets to the Frame
Install the front and rear E-Z Mount brackets into the predetermined frame holes (or suspension post mounts). Position the center of the bracket arms 12” to 16” from the bottom edge of the fender.
WARNING: Do not exceed 16", as excess fender hanging below the bracket will flex in the wind and crack.
Lastly - Tighten the nuts so the brackets rotate firmly but can still be adjusted.
#3. Mark the Drill Holes
Hold the fender flush against the mounted brackets. Place the first and fourth grommets between the fender and bracket. Mark the fender along the top of these grommets and at the outside edge of the bracket.
TIP: Make sure the marks are an equal distance from the bottom edge of the fender so it mounts straight.
Save time. Mark and drill all the outer bracket holes while the fenders are off the truck.
#4. Drill the End Holes
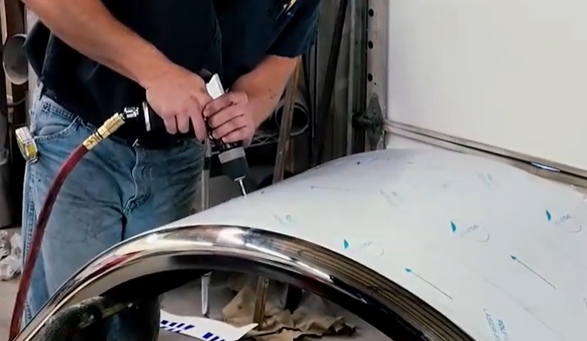
Use the backing plate as a template!
Remove the fender and set it on the floor. Align the 1 1/2” x 19 3/4” backing plate with your marks. Using the plate as a template, drill the four bracket holes into the fender.
(NOTE: Remember to only drill the four holes that line up with the bolt holes in your bracket. The other holes are for the tabs on the tab lock washers.)
To ensure perfect alignment, drop a 3/8” bolt into each hole as you drill it.
After you have drilled the four holes in your fender, we suggest that you enlarge them to 13/32”. This will allow for adjustment when bolting the fender to the bracket.
#5. Install Fender to End Brackets
Put the fender back on the blocks.
Install the grommets between the fender and brackets, then place the backing plates and tab-lock washers under the fender.
TIP: ALWAYS use heavy-duty, full-length backing plates around the bolt holes. Standard washers will crack and wear down with heavy over-the-road use (50k miles or more).
Loosely bolt the fender to the front and rear brackets using the 3/8” x 1 ¾” bolts. Once it’s aligned, torque the bolts to 10ft/lbs and bend the lock-washer tabs down against the bolt heads to prevent backing out.
#6. Finalize Center Bracket and Reinflate
Adjust the center bracket plate so it aligns with the outer fender bolts.
Drill the mounting holes directly through the fender while it is on the truck. Install the stainless button-head bolts through the fender and bracket plate.
Torque the center 5/8” Nyloc nut at the frame to 150 ft/lbs. Finally, reinflate the truck's air suspension.
Shop for Peterbilt 379 Full Fender Designs at 4 State Trucks
Completely customize your rear-end truck setup with Peterbilt full fenders or half fenders in paintable fiberglass or polished stainless steel. Choose from a variety of styles, including long-drop configurations, and unique finishes. Order online, shop via the mobile app, or drop by the 4 State Trucks shop in Joplin, Missouri.
Recent Posts
-
Haul of Fame: J&L Contracting's Award-Winning Truck
 Kenworths: Never Satisfied & Devilish Ways When you talk about Midwest trucking, heavy hauling, and …17th Sep 2026
 -
Semi Truck Exhaust Systems: Parts, Materials, Fitment & Repair Guide
 How a Semi Truck Exhaust System Works A heavy-duty exhaust system has three main jobs: route burned …16th Sep 2026
 -
Diesel Truck Engine Maintenance Guide
 Semi truck engines can last up to one million miles, or more, before they need to be rebuilt or repl …4th Sep 2026
 -
How to Buy the Right Peterbilt 379 Radiator
 If you want to keep your diesel engine from overheating you need a well-functioning replacement Pete …28th Aug 2026
 -
10 Essential Cost-Per-Mile Truck Upgrades that Pay for Themselves
 Small aftermarket semi truck accessories and performance upgrades save more money over time than the …21st Aug 2026
 -
Seasonal Semi Truck Maintenance Checklist
 Freezing winter weather temperatures, heavy snow, ice, and road salt take an unseen toll on your sem …14th Aug 2026
 -
Haul of Fame: Richard Bonner’s 1996 Peterbilt 379 — Bringing a Classic Trucker’s Truck Back to Life
 Every truck has a story, but some are worth taking a closer look at. Richard Bonner’s 1996 Peterbilt …14th Aug 2026
 -
Surviving the Scale: How to Pass Your DOT Inspection & Avoid Crippling Fees
 DOT semi truck inspections can make anyone nervous. There are multiple levels that start from a quic …7th Aug 2026
 -
Semi Truck Brake System Maintenance Guide
 Semi-truck brake defects account for 30% of out-of-service violations, according to CVSA’s 2025 Inte …4th Aug 2026
 -
How to Build a Semi Truck Emergency Kit (A Complete Checklist)
 Semi-truck breakdowns cost money and time; but they aren't inevitable. With the right emergency acce …30th Jul 2026