The Best Heavy Duty Shocks for Semi Trucks

Aside from your truck's engine, heavy duty shocks are among the most critical parts that that affect ride quality, suspension performance, and the amount of wear on tires.
Here’s a quick rundown of the best aftermarket shock dampeners that we sell at 4 State Trucks, as well as semi truck shock technology, signs of failure, and buying tips.
How Shock Absorbers Work on a Semi Truck
Your leaf springs and air ride parts handle weight support and vertical movement. But your shocks manage the motion of the movement. Without them, you’d be bouncing uncontrollably.
Shocks aren’t struts. Shocks are used in class 8 commercial trucks. Struts aren't used in big rigs whatsoever. They're more common in heavy-duty passenger vehicles like Ford, GMC, Chrysler, etc.
Shocks work to:
- Maintain wheel stability
- Improve braking distance by stabilizing weight transfer
- Dampen the hits from uneven road surfaces or potholes
- Reduce driver fatigue by minimizing shocks and road vibrations
Shock Components:
- Outer Tube (shock housing): the steel body that contains the oil/gas
- Piston & Rod: moves up and down as the wheels/suspension travels
- Hydraulic Oil: gives some slack for the piston to move through it
- Gas Chamber (Nitrogen): for gas-charged shocks, nitrogen stops the oil from foaming (aerating)
- Seals & Valves: controls the flow of oil, creating the resistance that dampens vibrations
Signs of Semi Truck Shock Failure
OEM shocks generally last between 80,000-150,000 miles (or 50-60k for off-road rigs).
You should get a qualified service technician to inspect them every 15,000 miles.
If they start to wear down, expect the following signs:
- Vibrations through the steering wheel
- Excessive bouncing or hood dip during braking
- Harder road impacts due to hydraulic fluid deterioration
- Uneven tire wear and tire cupping
- Oil leakage near shock housing
- Handling issues like swaying or lane drift
- Shock absorber housing have visible dents, corrosion damage, or worn bushings
Not all symptoms of worn-out shocks are visible, however.
Types of Heavy Duty Shock Technologies Explained
Emulsion Shocks
- Oil and gas is mixed in a single chamber - which can make it prone to aeration and fade.
- Pros: Budget-friendly truck shocks
- Cons: Higher risk of aeration, less effective in extreme, high-pressure conditions
Twin-Tube Nitrogen, Gas-Charged Shocks
Contains a separated inner oil chamber (the "pressure tube") and an outer gas chamber ("reserve turbe") reduces heat and air mixing; the gas-charged shocks add nitrogen to the chamber above the hydraulic oil to reduce fade and minimize road vibrations.
- Pros: excellent for heat dissipation, city driving, and heavy-duty use overall
Internal Floating Piston (IFP) Shocks
- Precision-engineered for enhanced stability and performance under pressure
- Ideal for off-roading, towing, and extreme heat
Adjustable Shock Dampeners
Adjustable shocks allow for the driver to manually tune the firmness of the shocks for various load conditions (“Comfort,” “Firm,” “Extra Firm”). This is ideal for switching between light loads and heavy hauling.
Our Best Semi Truck Shock Absorbers by Brand
Here are the top aftermarket shock brands that we sell.
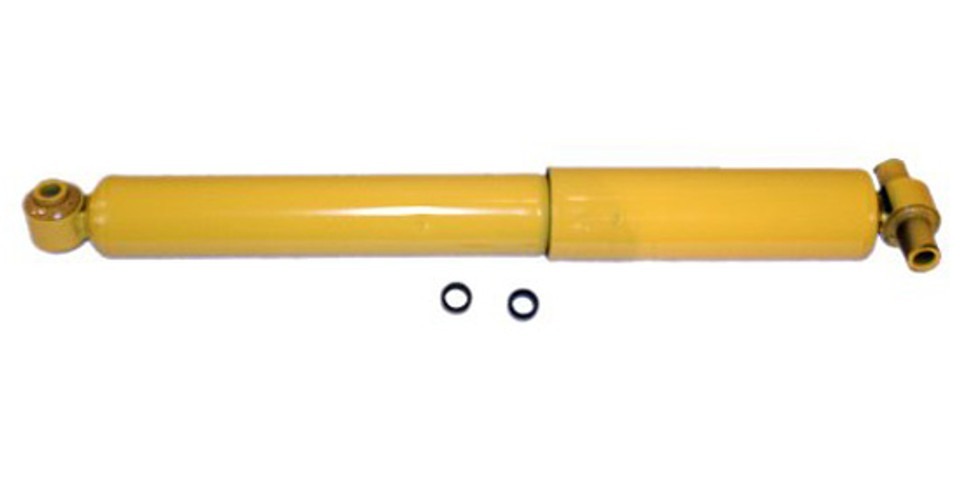
Gabriel Shocks:
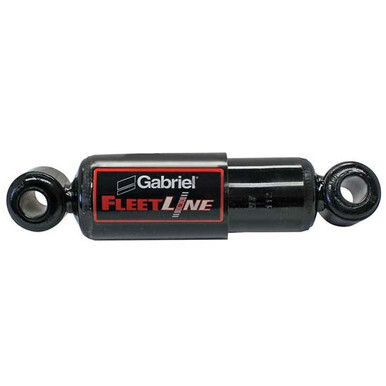
Entry-level, affordable products like Fleetline (emulsion) & an adjustable premium-price option like GasSLX (IFP). The GasSLX Series has oil and nitrogen gas separated by a floating piston.
Bulldog HD Shocks:
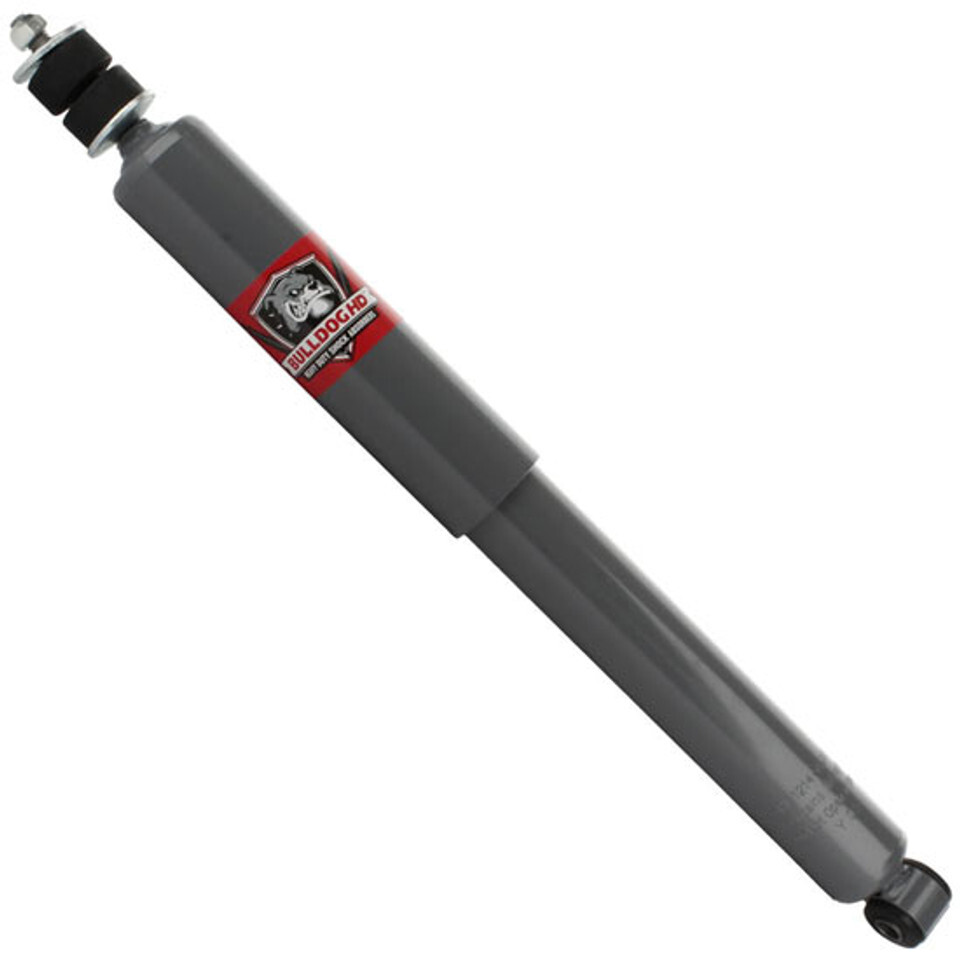
Nitrogen twin-tube technologies with strong seals and very thick housings. Engineered with PTFE piston seals instead of O-rings to reduce leakage, high-temperature Viton multi-lip rod seals, and thick tube walls for extreme durability.
These shocks are as strong as they get. The downside? Unlike GasSLX, they’re not adjustable for lighter and heavier loads.
| Kenworth | Peterbilt | Freightliner |
|---|---|---|
| Kenworth T660 Shocks | ||
| Kenworth T800 Shocks | Peterbilt 567/579 Shocks | Freightliner Classic Shocks |
| Tip: Filter your selection by the vendor/brand or lookup heavy-duty shock SKU numbers directly in search | ||
Road King Shocks:
Premium-grade, high-performance monotube nitrogen IFP designed for industrious working trucks. It’s built for extreme duty applications - heavy payloads, rough terrains, and even logging trucks. However, it’s a relatively higher-priced option.
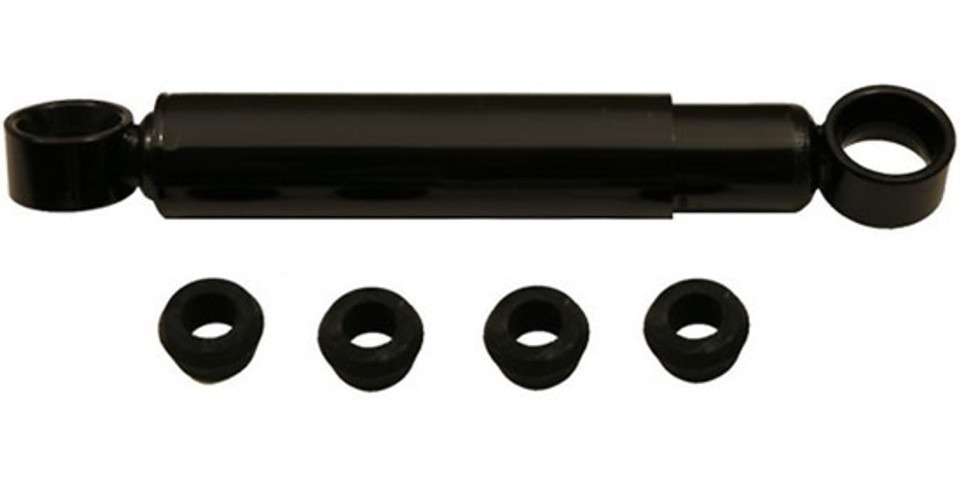
Monroe (65 Series) Shocks:
Designed as a nitrogen, gas-charged twin-tube shock with a large-bore design (1-¾” bore) for strong heat dissipation. This make also features hydraulic lock-out system (preventing topping out on potfilled highway roads), PTFE-coated piston bearings to reduce internal friction, and durable bushings and multi-lip seals.
Pros: This brand is reliable, affordable, and designed to perform with air ride or taper leaf suspensions.
Cons: not as durable for heavy-duty class 8 truck driving as other brands like Bullydog.
BESTfit or Aftermarket Shocks
Our home-made brand of semi truck shocks are focused on affordability and accessibility for fleet owners; this brand features a budget option of twin-tube hydraulic designs or an emulsion shock design.
Our top pick? We prefer Bulldog Shocks. Here’s why.
Keep this in mind: semi truck shock performance is pretty much universal due to the technologies used to manufacture them.
Shock Fitment: Choosing the Right Shocks for Your Application
The right choice of truck shocks depends where and how you operate your truck. Cross country. City routes. Rough terrain. These are all factors.
Over-the-Road Long Haul Trucks
Priorities: comfort, fade resistance, long-term reliability
Recommended: internal floating piston (IFP) shocks (Gabriel) or a gas-charged adjustable shock.
City Delivery Trucks
Priorities: responsive handling, reduce bounce/vibration, and durability on city roads
Recommended: nitrogen gas-charged town-tube shocks (Monroe) to keep the truck from porpoising (excess cab bounce).
Off-Road, Logging, or Oil Field Rigs
Priorities: extreme durability, heat dissipation, and stability
Recommended: large-bore monotube nitrogen gas shock designs or heavy-duty IFP shocks with thicker piston rods and reinforced housings (Bulldog HD) to help prevent shock fade.
Heavy Hauling / Towing
Priorities: strength, stability, and reinforced construction
Recommended: Reinforced gas-charged or IFP shocks (Bullydog or Gabriel) that have enough durability to handle oversized weight load stresses.
How to Choose the Best Heavy Duty Shocks (Checklist)
- Check your VIN or OEM shock part number
- Match your application (haul type, terrain)
- Choose between comfort vs durability
- Consider gas vs emulsion vs IFP
- Read warranty terms (1 yr vs 2 yr vs 3 yr)
- Don’t forget cab shocks in addition to rear/front suspension
DIY Installation Tips for Replacing Shocks
There are plenty of tutorials available on how to replace your semi truck shocks.
How to Replace Your Semi Truck Shock Dampers (Class 8 Trucks)
- Park on a ground level, set the parking brakes, and chock wheels before doing any lift.
- Support weight by the axle/differential - never the susspension arms or links.
- Don't let an air-ride suspensions system hang without support blocks/stands.
Tools Needed to Replace Heavy Duty Shocks
- 20-22-ton service jack, a heavy-duty jack stands, wheel chocks. Get the stand rated by your vehicle weight.
- Torque wrench capable of 300+ ft-lb, 1/2"-3/4" drive sockets, breaker bar.
- Penetrant, wire brush, anti-seize (nickel or copper), paint marker.
- Replacement shocks + new Grade 8 hardware/locknuts (if it's needed)
- PPE: goves and eye protection for any spills
How to Lift a Class 8 Heavy-Duty Tractor Trailer
- Chock your wheels, set the brakes, and dump air
- Lift at the axle housing or differential for better support and avoid placing hands under links/rods
- While the air is dumped out, use your blocks/stands so the suspension is supported
Step-by-Step: Cab Shocks (secondary/cab air suspension)
- Relieve cab air via the dash dump or shutoff; key off; chock wheels. Support the cab so it can’t rock.
- Access mounts. Most cab shocks are vertical between a frame bracket and cab bracket.
- Remove hardware. Hold the bolt head; remove the top and bottom locknuts. Inspect brackets for cracks; replace worn bushings. (Freightliner maintenance literature calls out cab shock/bracket checks during service.)
- Prep & install new shock. Lightly clean bores and sleeves. Apply a thin film of anti-seize on the bolt shank and under washers (not globbed on threads unless the spec allows)—this helps future service and prevents galling. (Anti-seize increases clamp load at the same torque—use sparingly.)
- Torque fasteners to spec. Cab shock hardware sizes vary; follow OEM spec. As a rule of thumb for Grade 8 hardware:
- 5/8" = 186–212 ft-lb (plain vs. lubricated)
- 3/4" = 266–333 ft-lb (plain vs. lubricated) Use the manufacturer’s value if provided; otherwise use a trusted Grade-8 torque chart and note lube state.
- Re-inflate cab suspension and leak-check.
Tip: Many OEMs recommend re-checking fastener torque after early service and at regular PM intervals (e.g., after ~2,000 miles and then every ~60,000 miles).
Step-by-step: Suspension shocks (steer & drive axles)
Many Class 8 tractors use Hendrickson front (AIRTEK/STEERTEK/SOFTEK) and various rear suspensions. Always match the torque to the system you have.
- Prep & support (as above). Dump air, support under axle, support suspension.
- Remove the old shock. Hold the bolt head; remove locknuts.
- Clean & anti-seize the lower mount. Hendrickson procedures specifically call for a thin coating of anti-seize on the lower shock bolt shank and mating faces (axle wrap/spring seat/spacer) to prevent seizure—especially where aluminum components are used.
- Observe bolt orientation. Many Hendrickson procedures install the lower bolt from inboard → outboard with spacer/washer/locknut outboard.
- Torque to spec (examples, Hendrickson-supplied fasteners
- Restore ride height. Air up, let the truck settle, then verify ride height/height-control valve setting if needed—running out of spec degrades ride and component life.
- Road test & recheck. Paint-mark fasteners. Recheck torque at the next PM interval.
Tips that save time (and comebacks)
Anti-seize & thread treatments
- Where it helps: lower shock bolts/mating faces on many Hendrickson systems—explicitly recommended by the OEM to prevent seizing.
- How it affects torque: Anti-seize is a lubricant and increases clamp load for the same torque; follow the suspension/vehicle spec (dry vs. lubricated). If no OEM guidance exists, use a reputable torque chart that differentiates by lubrication state.
Torque specs—don’t guess
- Use the suspension’s torque table (Hendrickson lists shock eye bolts at 240 ± 15 ft-lb on various AIRTEK builds).
- A Hendrickson caution label specifies 210–235 ft-lb for many shock mount bolts—check your literature number against your suspension.
- If you’re working from fastener size/grade (no OEM number available), consult a Grade-8 chart and match for lube state (plain vs. lubricated).
Hardware & removal
- Replace prevailing-torque locknuts when removed; Hendrickson calls for Grade 8 bolts and Grade C locknuts.
- Do not use heat/cutting torches to remove fasteners/bushings on these suspensions—OEMs warn against it
Alignment & ride height check
- Shocks alone usually don’t alter alignment, but any suspension work is a good trigger to verify ride height and perform an alignment check if you had to loosen other components or if there’s tire wear/pull. (Hendrickson provides ride-height and alignment procedures; Monroe generally recommends alignment after suspension service.)
Quick decision tree (cab vs. suspension shocks)
- Cab feels floaty/porpoising, visible oil mist on cab shock, cab rocks after bumps? = Replace cab shocks; dump cab air first; torque per OEM (often smaller fasteners).
- Steer wheel chatters over ripples, excessive bounce, cupping; shocks hot/faded? = Replace steer axle shocks; common torque (Hendrickson) 240 ft-lb.
- Trailer-like hop, axle tramp on acceleration, rear bounce? = Replace drive axle shocks; follow your rear suspension spec; many HD systems call for 210–240 ft-lb on shock mounts.
Cab vs. suspension shock: time & technique differences
- Cab shocks: quicker access; smaller hardware; focus on cab isolation, dump cab air, support cab.
- Suspension shocks: heavier hardware, often need wheel-off clearance on steer axle, must support suspension and observe OEM bolt orientation/anti-seize calls.
Shop for Replacement Shocks & Other Suspension Components at 4 State Trucks Today
Get your ride back in balance today with high-performance aftermarket replacement parts to help you replace those worn-out OEM components today. You can shop online, in-store, or by using our mobile app.
Recent Posts
-
5 Semi Truck Spring Cleaning & Maintenance Tips for Owner-Operators
 The spring season is one of the best times to check on the functionality of your semi truck, especia …13th Mar 2026
 -
I-65 Chrome Shop Becomes an Authorized Dealer of 4 State Trucks: Expanding Access to Semi Truck Parts in Indiana
 Owner-operators, fleets, and repair shops across the Midwest now have expanded access to one of the …10th Mar 2026
 -
A Handshake Across the Border: 4 State Trucks Expands into Canada with Soaring Eagle
 In trucking, growth doesn’t just happen in boardrooms. It happens in shops. On backroads. In early-m …9th Mar 2026
 -
Two Family Businesses, One Goal: Taking Care of Truckers
 In trucking, reputation isn’t built overnight. It’s built mile after mile, handshake after handshake …6th Mar 2026
 -
Ultimate Guide to Semi Truck Fifth Wheels
 The reality is, a truly comprehensive semi truck fifth wheel guide would be volumes, novellas even. …6th Mar 2026
 -
7 Chrome Mud Flap Weight Styles that Add Personality to Your Rig
 Chrome mud flap weights are an affordable way to add a light touch of style to the rear of your big …27th Feb 2026
 -
Haul of Fame: The Story Behind Mies & Sons’ “Mooving Violation"
 His childhood was on a dairy farm. His adulthood was behind the wheel of a semi. Jerry Mies’ “Moovin …20th Feb 2026
 -
Signs of a Failing Heater Box & What to Do About It
 Experiencing refreshing cool air in the summer and warm air in the winter is nearly priceless when b …20th Feb 2026
 -
13 Must-Have Kenworth Chrome Accessories (For Any Budget)
") If you're looking for the perfect aftermarket chrome upgrades to give your Kenworth a polished, slee …13th Feb 2026
If you're looking for the perfect aftermarket chrome upgrades to give your Kenworth a polished, slee …13th Feb 2026 -
What Makes This Joplin Semi Truck Show the Most Unique in America?
 What makes a semi truck show truly unique? The events? The custom truck builds? The general vibes? T …6th Feb 2026