


Peterbilt Clutch Parts: A No-Nonsense Guide for Owner-Operators
The clutch. As far as Peterbilt truck parts are concerned, this is a seemingly insignificant, yet critical component that connects the engine power to the transmission.
Without it working right, you'll have trouble stopping, idling, or shifting. Although most new Peterbilt models don't operate on a clutch - a lot of older models do.
Peterbilt Models: 379, 389, 589, 567, 579.
And if you're looking for tips on replacing clutch parts or learning more about what they do, this post is for you.
Key Takeaways
- The clutch transfers engine power, while the clutch brake stops the input shaft for first or reverse engagement.
- Warning signs include slipping, grinding, heavy pedal movement, changing engagement height, and release-bearing noise.
- Inspect the linkage, fork, bushings, return spring, release bearing, clutch brake, free play, and clearance before replacing the full clutch.
- During major service, replace worn linkage parts, the clutch brake, pilot bearing, and return spring. Two-piece clutch brakes often avoid transmission removal.
What the Semi Truck Clutch Does
Simply by pressing the foot pedal, it releases clamping force so you can stop, idle, or shift.
The Operating Sequence: Clutch pedal → clutch linkage → clutch fork → release bearing → clutch assembly.
The Peterbilt clutch linkage assembly forms the connection between your left foot pedal and the clutch rlease system in the bellhousing.
It's like a rod-and-lever mechanical setup where movement travels through rods, levers, pivots, and a release yoke before reaching the clutch release bearing.
In most heavy duty, Class 8 trucks, it's usually a big twin-disc clutch with a release bearing, clutch brake, linkage, and a fork that does the pushing.
Automated manual transmission trucks still have a clutch inside but no pedal.
This article focuses on pedal-equipped Peterbilt setups.
The Peterbilt Clutch Brake Explained
The clutch brake stops the input shaft from spinning so you can get it into first gear. Once it’s in first gear, you back off the clutch a bit. Then, you move to second gear. But you don’t just push the clutch in to reach it.
A residential car or truck will have a synchronizer that will speed the next gear up so that it matches and meshes.
A clean shift.
Big rig trucks DO NOT have this feature.
Drivers have to match the gear speeds. Some drivers use double-clutching - using the clutch to reduce pressure on gears when they shift.
Most drivers use the clutch just to takeoff. Nothing more.
After that, they don't touch it again. So, the clutch will stay in operable for many years.
The clutch brake is used EVERY time you shift into gear. That's a ton of friction.
As you can imagine, the Peterbilt clutch brake gets frequently replaced.
If your engine spins at 700 RPM and your clutch is out, then you’re also spinning the transmission at neutral at 700 RPM.
So, when you push the clutch in, the transmission is still spinning. It can't connect.
That's where the clutch brake comes in handy.
Once you force that clutch brake down, pressed fully against the floor, it stops the input shaft so that the gear will slide on and you can shift to the next gear.
Worn Clutch Brake Symptoms
Watch out for warning signs:
- Grinding when shifting into first gear
- Grinding when shifting into reverse
- Resistance when selecting a starting gear
- A delay before the transmission enters gear
- The need to shut off the engine before selecting first gear
Replacement Clutch Brakes for Peterbilt
There are two types of aftermarket clutch brakes that we sell: single-piece and two-piece replacements.
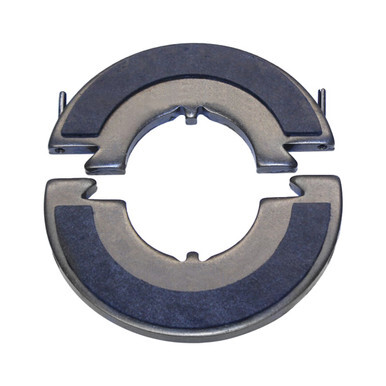
The two-piece clutches are hinged. You don't have to pull a transmission to put it on.
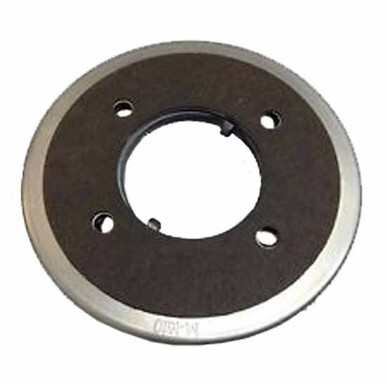
You have to pull the transmission out on one-piece clutches because you have a shaft that comes out so that the clutch part can go over that shaft.
Peterbilt Clutch Extenders: Why You Need One
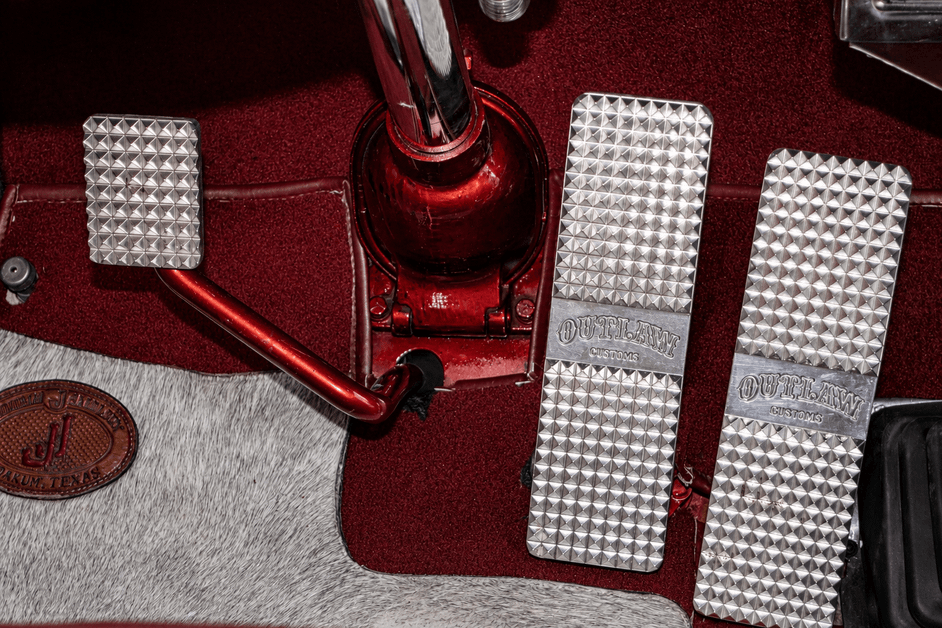
The process of forcefully pushing that clutch brake pedal down flat against the cab floor is annoying.
Thankfully, Iowa Customs created a solution 10 years ago that remains wildly popular today: The Clutch Extender.
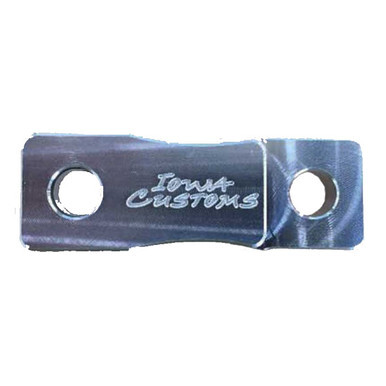
While it may not look impressive, it's unbelievably useful.
The few inches of pedal-to-the-metal foot pressure it spares drivers is well worth the cost for 99% of Peterbilt owners.
The Pedal Side Parts Explained (Why They Matter)
1) Clutch Pedal
Job: Transfers your foot force into the clutch linkage.
Why you care: Pedal feel tells you a lot—free play, height, and engagement point all indicate wear or need of adjustment.
What to check:
- Free play at top of pedal travel.
- Smooth return (no binding).
- Pedal bushings not sloppy.
- Pedal return spring intact (more below).
Upgrade/replace cues: Wacky pedal height, side-to-side slop, or a pedal that doesn’t return cleanly. Bushings and the return spring are cheap insurance during a clutch job.
2) Clutch Rod (Linkage Rod)
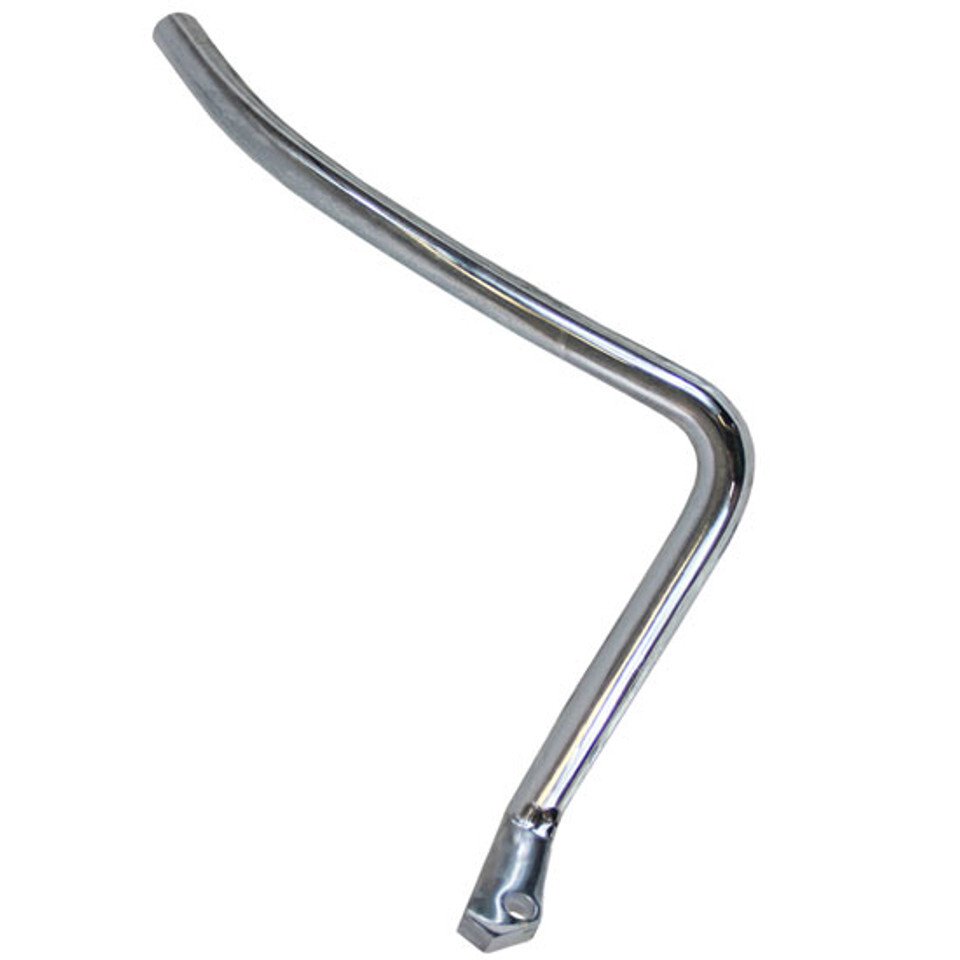
Job: Connects the pedal to the clutch release mechanism in order to disengage the engine from the transmission.
Why you care: Length and adjustability set your release bearing position and pedal free play.
Symptoms that you need adjustment or replacement: Inconsistent engagement, grinding into 1st at a stop, or the pedal feels “all or nothing.”
Popular aftermarket pick:
- BestFit Chrome Clutch Rod – adds corrosion resistance and looks sharp behind the kick panel. Adjustable to dial in spec.
Buying tips:
- Match year/model linkage style.
- Confirm adjuster thread type and overall length range.
- Consider locking hardware to keep your setting.
3) Clutch Pedal Return Spring (often called an “extension” in some catalogs)
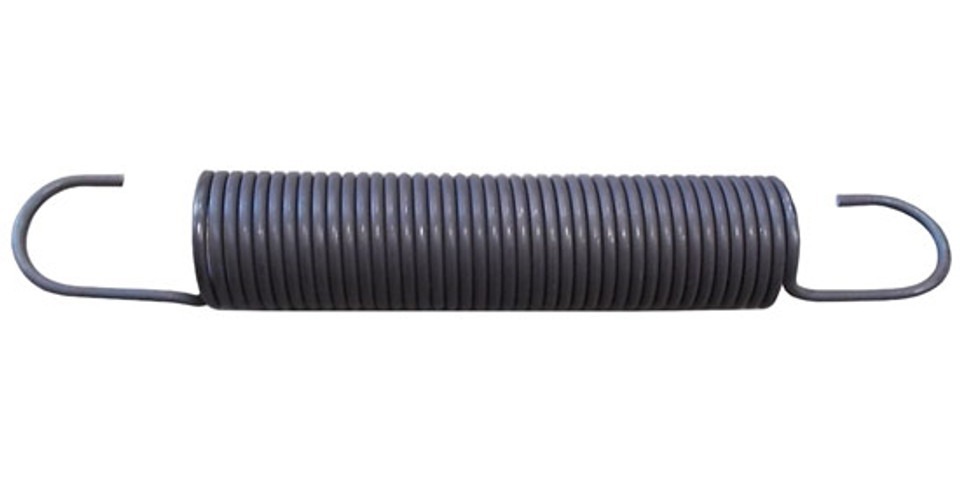
Job: Pulls the pedal back to the rest position and helps maintain consistent free play.
Why you care: A weak or broken spring makes the pedal slow, heavy, or inconsistent. That masks real clutch wear and can accelerate linkage wear.
Solid replacement:
- BestFit Clutch Pedal Spring, 14" – stout tension, simple swap.
https://www.4statetrucks.com/bestfit-clutch-pedal-spring-14-inch-01-0705005
Tech tip: Replace the spring any time you do a clutch replacement. Cheap part. Big difference in feel.
4) Clutch Fork (Release Fork / Yoke)
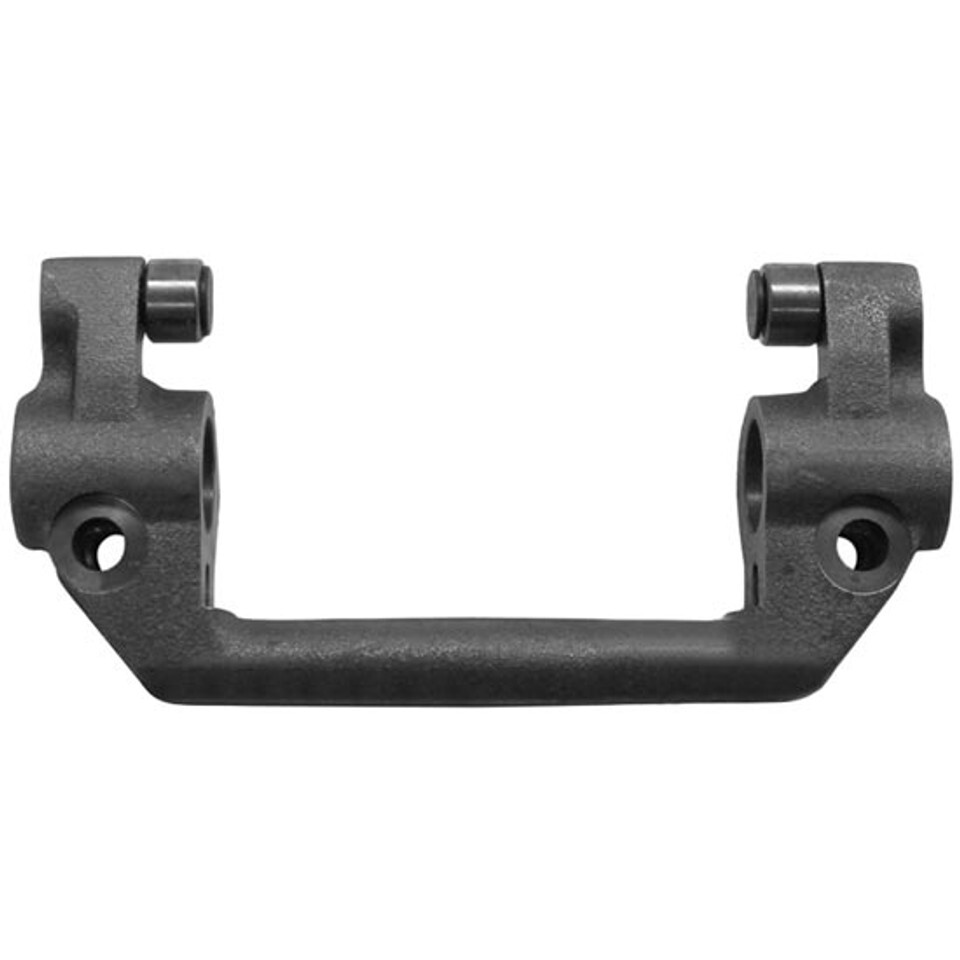
Job: Converts linkage motion into straight push or pull motion on the release (throwout) bearing. That bearing then releases the clutch.
Why you care: If the fork is worn at the contact pads, pivot, or roller, you’ll waste pedal travel. That kills release bearing life and messes up clutch-brake gap.
Buying tips:
- Match your transmission family (Eaton FR/RT/RTLO/Endurant, etc.).
- Confirm pivot/ball style and release bearing type (standard vs self-aligning).
- Inspect the pivot ball and clip—replace if pitted or loose.
Job: The clutch brake is a small friction disc that stops the transmission's input shaft from spinning when the pedal is pressed to the floor.
Why you care: This allows you to shift into 1st or Reverse from a dead stop without grinding. If your truck "grinds" into gear at a stoplight even with the pedal buried, your clutch brake is likely worn out or the linkage is out of adjustment.
How These Parts Work Together (Simple Flow)
Foot on the pedal = system is disengaged.
Foot off the pedal = system is engaged (power is moving from engine to transmission).
The clutch fork pulls the release bearing, which expands the diaphragm spring. This expansion adds force on the pressure plate which squeezes the clutch disc firmly against the flywheel, causing friction.
This friction between the pressure plate, flywheel, and clutch disc makes all three parts rotate simultaneously, sending engine power to the transmission's input shaft.
Common Symptoms & Quick Diagnosis — Peterbilt Clutch
Fitment checklist for Peterbilt clutch work
Use this list before you order aftermarket parts for your commercial semi truck:
- Peterbilt model + year (e.g., 379/389/589, 567, 579).
- Transmission model (Eaton Fuller FR/RT/RTLO, etc.).
- Linkage type (mechanical vs hydraulic/air-assist).
- Fork type (roller vs solid) and pivot style.
- Rod length range and thread type.
- Pedal bushings and 14" return spring on your cart.
- If replacing the clutch too: diameter (often 15.5" for heavy duty applications), number of splines on input shaft, torque rating, manual vs self-adjust. It’s best to get an install kit with new clutch.
Installation notes that save time (and knuckles)
- Chock wheels. Disconnect batteries. Use a rated trans jack.
- Replace the return spring, pilot bearing, and clutch brake during a clutch job.
- Set correct release bearing to clutch-brake gap and pedal free play.
- Lube the fork pivot points and pedal bushings lightly.
- Re-check linkage adjustment after first 500–1,000 miles.
- Break-in: avoid abusive launches the first week. Heat kills new facings.
Frequently Asked Peterbilt Clutch Questions
Recent Posts
-
What is Dummy Exhaust on a Semi Truck?
 A lot of modern Next-Gen semi trucks use horizontal exhaust outlets instead of vertical stacks to ro …2nd Oct 2026
 -
Chrome vs Stainless Steel Exhaust Stacks
 Wondering whether to purchase a stainless steel or chrome exhaust stack kit? Here's a breakdown of t …28th Sep 2026
 -
How to Source Semi Truck Parts Online
 Scambling for the right parts at the last minute can get costly. Here are the best tips to consider …25th Sep 2026
 -
Haul of Fame: J&L Contracting's Award-Winning Truck
 Kenworths: Never Satisfied & Devilish Ways When you talk about Midwest trucking, heavy hauling, and …17th Sep 2026
 -
Semi Truck Exhaust Systems: Parts, Materials, Fitment & Repair Guide
 How a Semi Truck Exhaust System Works A heavy-duty exhaust system has three main jobs: route burned …16th Sep 2026
 -
Diesel Truck Engine Maintenance Guide
 Semi truck engines can last up to one million miles, or more, before they need to be rebuilt or repl …4th Sep 2026
 -
How to Buy the Right Peterbilt 379 Radiator
 If you want to keep your diesel engine from overheating you need a well-functioning replacement Pete …28th Aug 2026
 -
Adapt to the Diesel Fuel Crisis Using These 10 Truck Mods
 Small aftermarket semi truck accessories and performance upgrades save more money over time than the …21st Aug 2026
 -
Seasonal Semi Truck Maintenance Checklist
 Freezing winter weather temperatures, heavy snow, ice, and road salt take an unseen toll on your sem …14th Aug 2026
 -
Haul of Fame: Richard Bonner’s 1996 Peterbilt 379 — Bringing a Classic Trucker’s Truck Back to Life
 Every truck has a story, but some are worth taking a closer look at. Richard Bonner’s 1996 Peterbilt …14th Aug 2026